Winter-Spring 2016 Workshops for Sustainble Living NOW POSTED!
We are so excited to share our new line-up of classes with you, coming this January through May (more classes to come for summer-fall).
Workshops fill up quickly so please check our website here to sign up for your choice of classes. Consider giving a workshop as a unique holiday gift to a family member or friend. We now offer gift certificates for Little City Farm classes, events and B&B stays.
Workshops include soap making, cheese making, fermenting foods, sourdough, kombucha, herbal winter remedies, and much more!
Also don't forget to check out our special Homesteading Club for Kids this coming March Break, our Family Whole Food Series (come make pie and bread with your kids!), and the Practical Herbalist Series.
Showing posts with label homesteading projects. Show all posts
Saturday, November 28, 2015
Winter-Spring 2016 Workshops for Sustainable Living NOW POSTED!!
Tuesday, January 20, 2015
New homestead projects & first Grain Share
There are so many new ideas brimming forth for our homestead as this new year unfolds - it is quite exciting to explore these new possibilities and start setting things in motion - but also a bit overwhelming. This is of course the time for seed orders and garden planning, and we'll post our annual Seed Planting Guide here shortly. We are also renovating and setting up that barn into production once again...we are reorganizing our eco bed and breakfast...we will be starting to offer organic non-GMO seeds through our Little City Farm store (more on that soon)...we have homesteading classes on the go...we hope to start keeping bees this summer...
We've also been trying to streamline our food purchases as part of our homestead focus - so that everything we can't grow/sprout/preserve/make/bake ourselves is bought either through our food co-op buying club, or from local farmers. We'd like to avoid purchases at the grocery store wherever we can so we can instead support co-ops and nearby farms, and help reduce our food budget by buying in bulk. And today, we received our first Grain Share - one of a five-part delivery of a variety of locally grown organic and freshly milled grains we are getting as part of a share program through Cedar Down Farm. We are hosting the local in-city pick up for people interested in this grain share idea, and today is the first day. Our farmer arrived with a van full of brown paper bags neatly stacked, sorted and labelled. Our daughter helped to carry all the bags in eagerly, and then peeked into what our family had received. Today's delivery included hard wheat, rolled oats, rye (5 lbs each, all freshly milled), and 2 lbs of black beans - all grown at the farm. Cedar Down Farm is just over an hour away from here, and we are so happy to be supporting these local farmers and their new initiative. We promptly made a huge batch of granola, and have bread dough rising (can't wait to see how the freshly milled flour works), and are anticipating next month's delivery surprises!
Saturday, November 22, 2014
Say No to Plastic! DIY Beeswax Wraps
This is my new favourite gift to give to friends and family. It's simple to make, easy to use, lasts indefinitely, and cuts down on one of the most un-reusable plastics in most people's homes - plastic food wrap! Here's a quick tutorial on how to make your own natural beeswax wraps. These are perfect for wrapped your lunch, left over snacks, blocks of cheese in the fridge, and more. I have a very large beeswax wrap I made to fit my bread mixing bowl, so I can wrap my dough while it rises overnight.
DIY Beeswax Wraps
You will need:
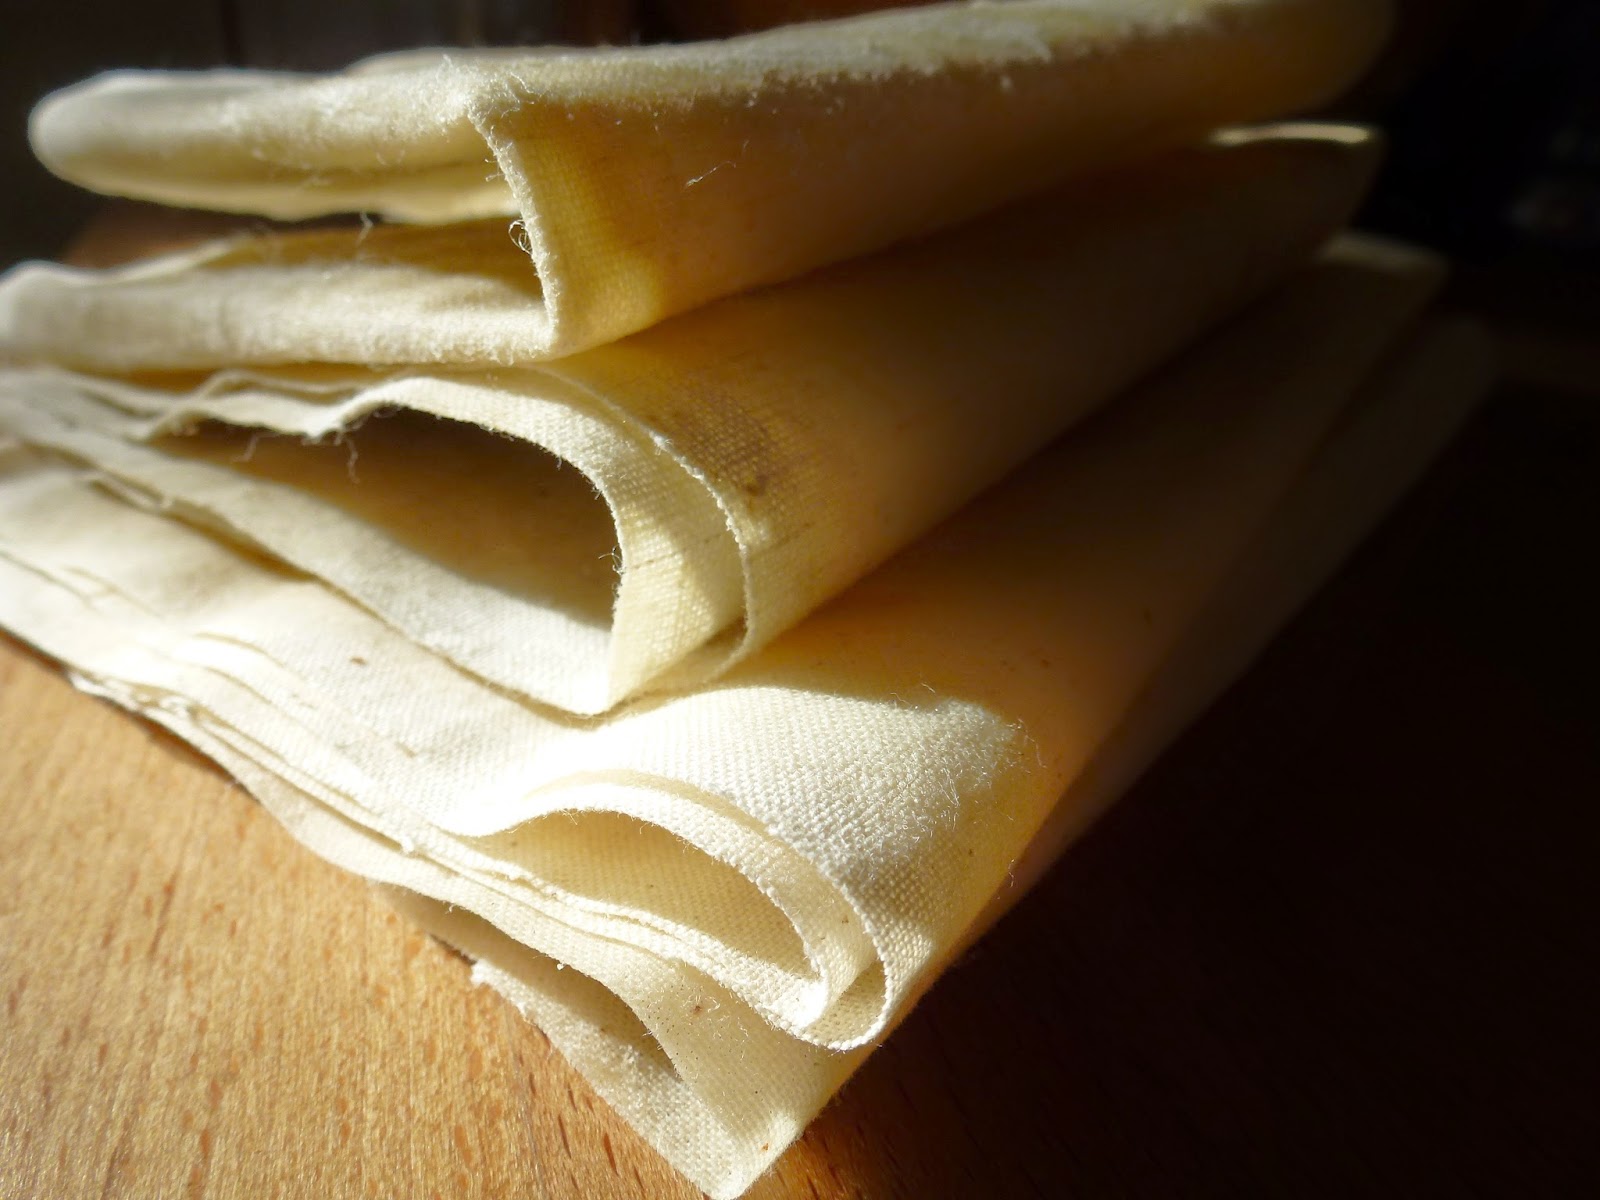
100% cotton muslin cloth, or natural linen cloth (cut to sizes you want)
pure natural beeswax (do not use parafin, soy or other coloured waxes)
grater or knife you reserved only for cutting beeswax
old paint brush
old baking sheet
oven
1) Cut your cotton or linen cloth to size. You will likely want sizes that fit your various needs (sandwich size, cheese block size, larger sizes for covering bowls). Remember the fabric needs to fit onto your baking sheet.
2) Shred your beeswax (or use beeswax pellets if you prefer). Spread a fine layer across your your cloth to cover evenly.
3) Preheat oven to 180F. Do NOT bake any hotter than this as you risk a fire. Please WATCH your oven carefully while the sheets are baking. This only takes a few minutes to do so don't walk away!
4) Place your cloth with beeswax on the old baking sheet. Put in the oven at 180F for about 5 minutes. Watch to see if wax is melting.
5) Once wax has begun to melt you can take out the sheet and spread the wax across the cloth with your old paintbrush. This helps distribute it evenly. Shred on more wax as needed and bake a few more minutes. The wax will be just barely melted and it's time to take out your baking sheets.
6) Remove your beeswax cloths from the baking sheet as they will stick on once the wax hardens. Let cool.
7) Optional - you are serge or sew around the edges to prevent fraying but I find the beeswax keeps the cloth from fraying.
To wash - wipe with damp cloth, or rinse lightly with cool water. Do not use hot water.
DIY Beeswax Wraps
You will need:
100% cotton muslin cloth, or natural linen cloth (cut to sizes you want)
pure natural beeswax (do not use parafin, soy or other coloured waxes)
grater or knife you reserved only for cutting beeswax
old paint brush
old baking sheet
oven
1) Cut your cotton or linen cloth to size. You will likely want sizes that fit your various needs (sandwich size, cheese block size, larger sizes for covering bowls). Remember the fabric needs to fit onto your baking sheet.
2) Shred your beeswax (or use beeswax pellets if you prefer). Spread a fine layer across your your cloth to cover evenly.
3) Preheat oven to 180F. Do NOT bake any hotter than this as you risk a fire. Please WATCH your oven carefully while the sheets are baking. This only takes a few minutes to do so don't walk away!
4) Place your cloth with beeswax on the old baking sheet. Put in the oven at 180F for about 5 minutes. Watch to see if wax is melting.
5) Once wax has begun to melt you can take out the sheet and spread the wax across the cloth with your old paintbrush. This helps distribute it evenly. Shred on more wax as needed and bake a few more minutes. The wax will be just barely melted and it's time to take out your baking sheets.
6) Remove your beeswax cloths from the baking sheet as they will stick on once the wax hardens. Let cool.
7) Optional - you are serge or sew around the edges to prevent fraying but I find the beeswax keeps the cloth from fraying.
To wash - wipe with damp cloth, or rinse lightly with cool water. Do not use hot water.
Saturday, April 12, 2014
DIY Beeswax Wraps
We love these beeswax wraps! They have so many great uses, and can replace any situation where you might have used plastic wrap before. No more plastic wrap on food, no more plastic wrap to throw away. For example, we wrap lunch sandwiches, halves of apples, blocks of cheese stored in the fridge, and to cover mixing bowls when proofing bread. The beeswax wraps are slightly water proof and breathable.
Cleaning: These beeswax wraps can be used almost indefinitely, and if they do need cleaning just rinse gently with cool water and a biodegradable dishsoap or wipe with cool cloth, then let air dry (do not wash with hot water as this may melt the beeswax coating).
Note of caution: Making your own beeswax wraps at home is quite simple. The key is to keep an eye on your oven temperature and not leave the cloths in the oven too long. This is important since the hot wax in your oven could become a fire hazard. Work carefully, and in less than half an hour you will have your own set of beeswax wraps! These beeswax wraps make great gifts as well.
You will need:
You will need:
- A large piece of natural unbleached un-dyed fabric (e.g. cotton, linen, hemp)
- Pure beeswax
- Old baking trays
- Parchment paper
- Old grater or knife to cut beeswax
- Old paintbrush (reserved for beeswax from now on)
a) Cut piece of natural fabric to the size you want - it needs to fit on a baking tray. Consider sizes that will be small or large enough to wrap the foods you have in mind (e.g. sandwiches, fruit, to cover a mixing bowl, etc)
b) Decide if you want to serge or sew the edges of the fabric to prevent fraying. The beeswax will also prevent fraying so it just depends on how "finished" you want your wrap to look.
c) Line baking tray with parchment paper and lay cloth flat on this tray.
d) Preheat oven to 170F (NO hotter as this can become dangerous!).
e) Shred or grate beeswax. You will need to have a thin layer across your entire cloth. This amounts to several tablespoons of grated was for a medium sized cloth.
f) Sprinkle beeswax across the cloth evenly.
g) Put baking tray into the oven at 170F for 10 minutes - NO LONGER than that! Keep an eye on the melting wax. If the was has melted sooner than 10 minutes remove baking tray earlier.
h) While wax is still hot spread it across the cloth with the old paintbrush. Try to get a skim coat across the entire cloth.
i) Let cool. Beeswax will dry and harden slightly. Then the beeswax wrap is ready to use!
j) You can add button and string loop closures, or other cloth or string fasteners onto the edges if you want to have a way to secure the cloths. We just fold them around our food and secure with a rubber band.
Subscribe to:
Posts (Atom)