Pages

Sunday, November 30, 2014

THANK YOU! Handmade holiday sale visitors

A big thank you to everyone who came out to our Handmade Holiday sale yesterday.  I just learned that in fact yesterday was known in some parts as "small business Saturday", so it was fitting to have so many of you here supporting local small business and crafters at our sale.

If you missed our sale or still need to contact one of our vendors, here are their links:
Green Garb
Your Time Candles (also selling locally made bean to bar chocolates by Ambrosia Pastry)
Homestead Herbals
Once Upon A Tree
Seed of Life
RECycled - contact Jesse at 519-804-2466 ext. 23


Saturday, November 22, 2014

Coming THIS WEEK! Annual Handmade Holiday Sale Nov 29


Here's one last reminder - about the upcoming annual Handmade Holiday Sale at Little City Farm. 

We look forward to hosting this fun holiday sale held annually in our house.   Our house is not big, but we pack in the vendors and everyone squeezes together to make for a cozy sale filled with unique handmade eco-conscious items!

When: Sat, Nov 29 from 10 am-2 pm
More info: www.littlecityfarm.ca


Make your own Beeswax Candles

We had fun making beeswax candles as part of our holiday gift making.  We tried our hand at dipped candles, as well as poured candles in molds.  Making smooth dipped candles is harder than it looks - and takes a huge pot of wax so the wick doesn't get bent into a curly candle.  We had some interesting and unusual results, all of which will still work just fine for lighting. Our daughter loved making tiny birthday candles, which didn't take more than a few minutes. 

What you need:
old cooking pot, reserved for beeswax (fill with water and place tins of wax in this pot to melt)
tin cans to melt wax in
molds (small tins, plastic molds, or other containers - we have used hollowed egg shells for round candles)
wick of various sizes


NEW! Plantain Soothing Salve

We have a new favourite salve that's ready in our Homestead Herbals online store.  The Plantain Soothig Salve.  This is made the usual way we make our salves - with a solar infusion of botanicals in pure olive oil (infused for 6 weeks), then beeswax and cocoa butter are added, and pure essential oils for healing properties and beautiful smell.  This salve is so special!  We are planning to give it to all family members for Christmas this year.  The reason we love plantain salve is that we've seen the amazing effects of it's healing abilities - plantain is renowned for soothing all manner of insect bites, bee and wasp stings, and mosquito bites.  We use the plantain leaf directly in summer months when we have it at hand, but there are times (like this past summer when we were at a family cottage where mosquitoes were driving everyone inside) where we can't find plantain growing nearby right when it's needed.  This salve does the trick!  We were handing this salve out as "testers" at our family cottage to anyone who had mosquito bites, everyone slathered it on their bites and in minutes the itching and redness was gone.  Our daughter too can attest to the healing ability of plantain for wasp bites - amazing results when it was rubbed on the welts, which again disappeared in short order.

So, it's not summer - yet.  But we are happy to have this salve ready with new labels and are sure to make customers happy when they experience the healing abilities of this wonderful salve.  And it might just make a unique gift for the outdoor-lover on your holiday list.


Say No to Plastic! DIY Beeswax Wraps

This is my new favourite gift to give to friends and family.  It's simple to make, easy to use, lasts indefinitely,  and cuts down on one of the most un-reusable plastics in most people's homes - plastic food wrap!   Here's a quick tutorial on how to make your own natural beeswax wraps.  These are perfect for wrapped your lunch, left over snacks, blocks of cheese in the fridge, and more.  I have a very large beeswax wrap I made to fit my bread mixing bowl, so I can wrap my dough while it rises overnight. 

DIY Beeswax Wraps

You will need:
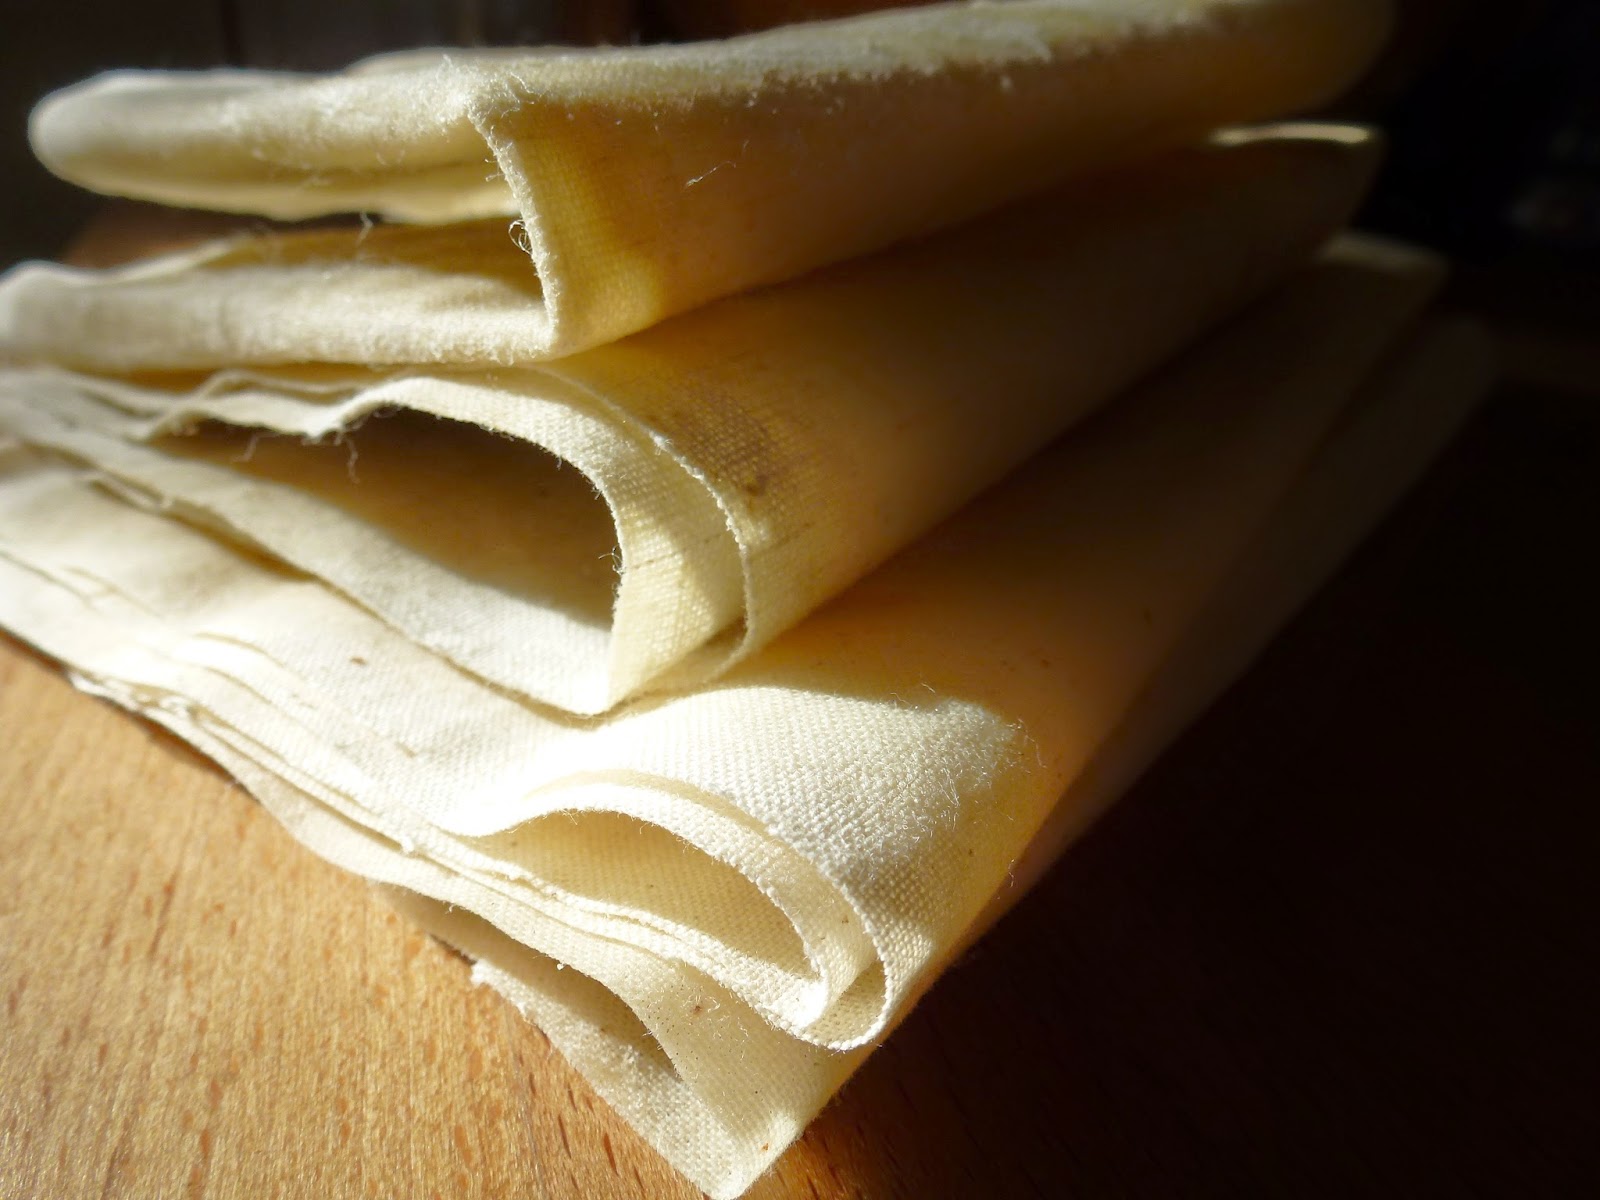
100% cotton muslin cloth, or natural linen cloth (cut to sizes you want)
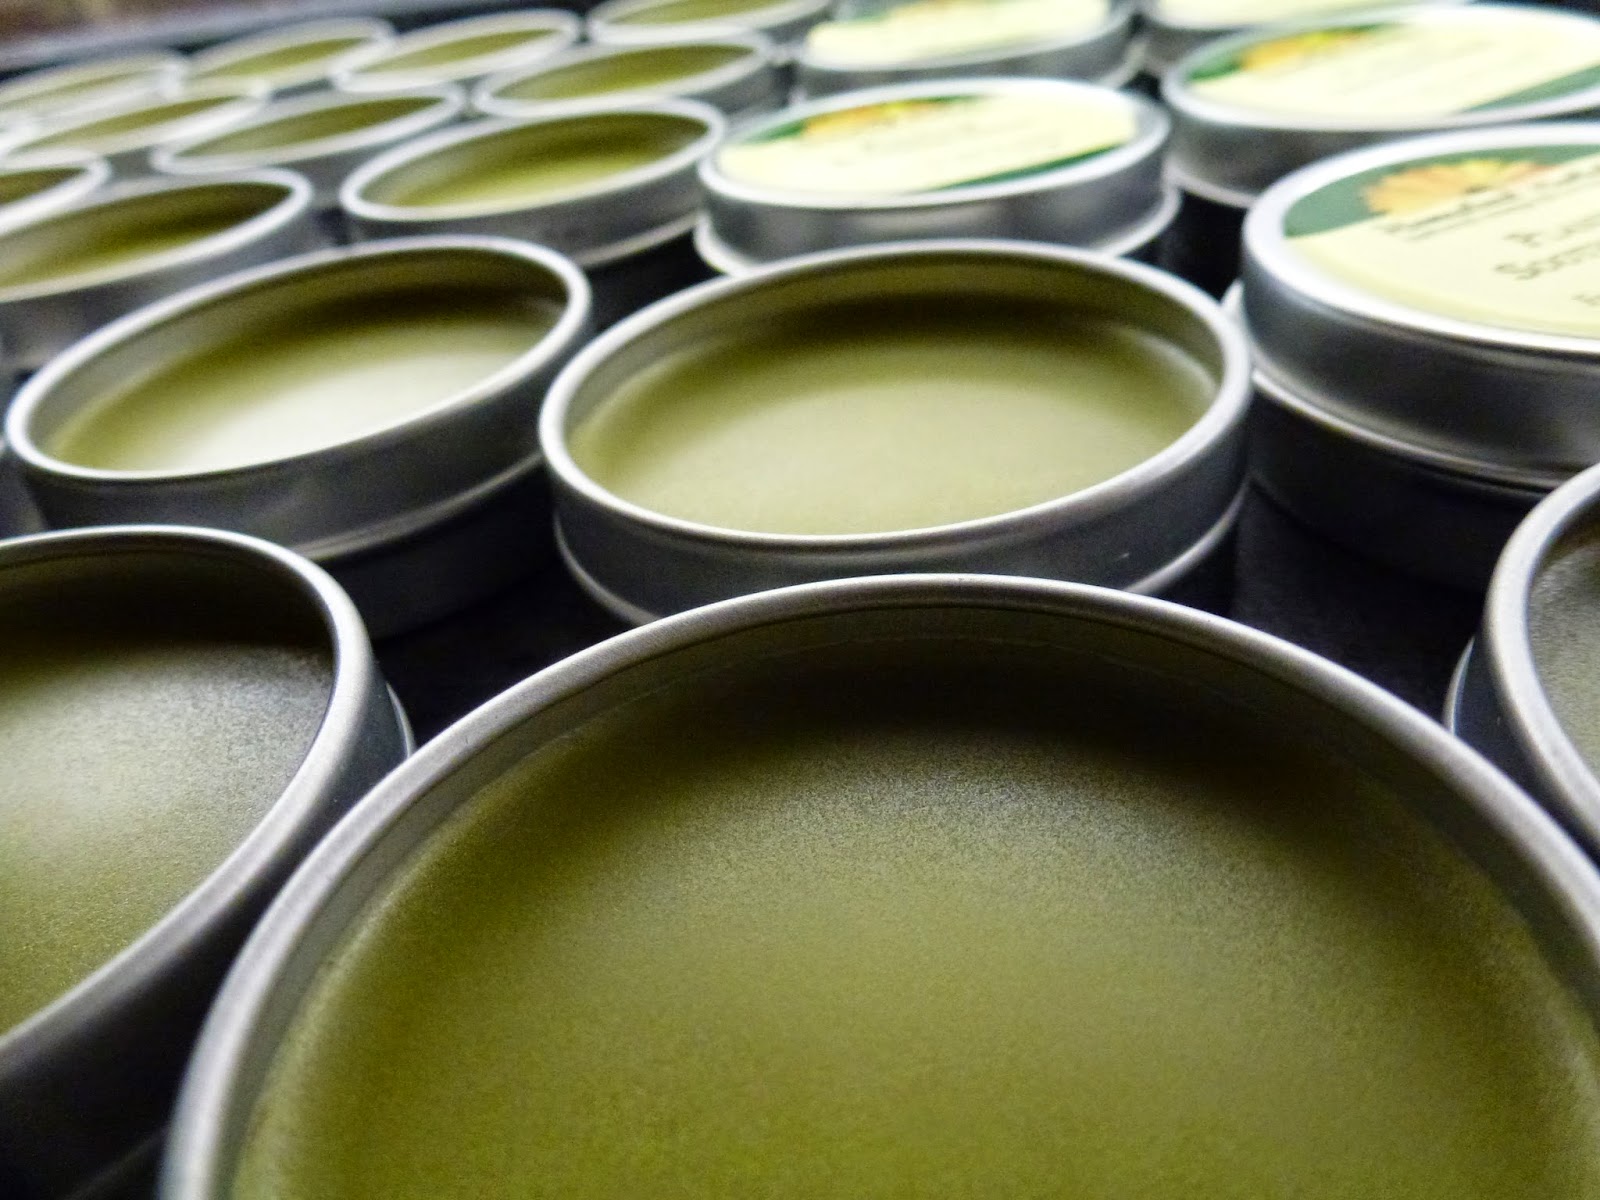
pure natural beeswax (do not use parafin, soy or other coloured waxes)
grater or knife you reserved only for cutting beeswax
old paint brush
old baking sheet
oven

1) Cut your cotton or linen cloth to size.  You will likely want sizes that fit your various needs (sandwich size, cheese block size, larger sizes for covering bowls).  Remember the fabric needs to fit onto your baking sheet.

2) Shred your beeswax (or use beeswax pellets if you prefer).  Spread a fine layer across your your cloth to cover evenly. 

3) Preheat oven to 180F.  Do NOT bake any hotter than this as you risk a fire.  Please WATCH your oven carefully while the sheets are baking.  This only takes a few minutes to do so don't walk away!

4) Place your cloth with beeswax on the old baking sheet.  Put in the oven at 180F for about 5 minutes.  Watch to see if wax is melting. 

5) Once wax has begun to melt you can take out the sheet and spread the wax across the cloth with your old paintbrush.  This helps distribute it evenly.  Shred on more wax as needed and bake a few more minutes.  The wax will be just barely melted and it's time to take out your baking sheets.

6) Remove your beeswax cloths from the baking sheet as they will stick on once the wax hardens.  Let cool. 

7) Optional - you are serge or sew around the edges to prevent fraying but I find the beeswax keeps the cloth from fraying.

To wash - wipe with damp cloth, or rinse lightly with cool water.  Do not use hot water.


Sunday, November 09, 2014

First snow today - beautiful and fleeting

Thankfully this morning's beautiful dusting of snow has already melted.  We still have so much to do around here!  The barn/greenhouse reno needs to be closed up - the roof is on, the greenhouse glass is being put on today, one door is framed, a few others need to come...

But the yard and garden were beautiful none the less, and quite thrilling to our daughter, and maybe even the chickens who were not quite sure what to make of it.  Some of the herbs (like the mints, chives, parsley, dill, sage, thyme and savory) are still looking just fine for harvesting, and our cold frame still holds kale, chard, spinach, and fresh cilantro, and we have planted to covered grow beds with meslun and other greens for late winter eating.  I also found a few handfuls of the sweetest wild grapes still left clinging to the vines on the back porch.  However, it does feel like we are coming to the ending of this season.