Pages

Showing posts with label homestead kitchen. Show all posts

Saturday, November 22, 2014

Say No to Plastic! DIY Beeswax Wraps

This is my new favourite gift to give to friends and family.  It's simple to make, easy to use, lasts indefinitely,  and cuts down on one of the most un-reusable plastics in most people's homes - plastic food wrap!   Here's a quick tutorial on how to make your own natural beeswax wraps.  These are perfect for wrapped your lunch, left over snacks, blocks of cheese in the fridge, and more.  I have a very large beeswax wrap I made to fit my bread mixing bowl, so I can wrap my dough while it rises overnight. 

DIY Beeswax Wraps

You will need:
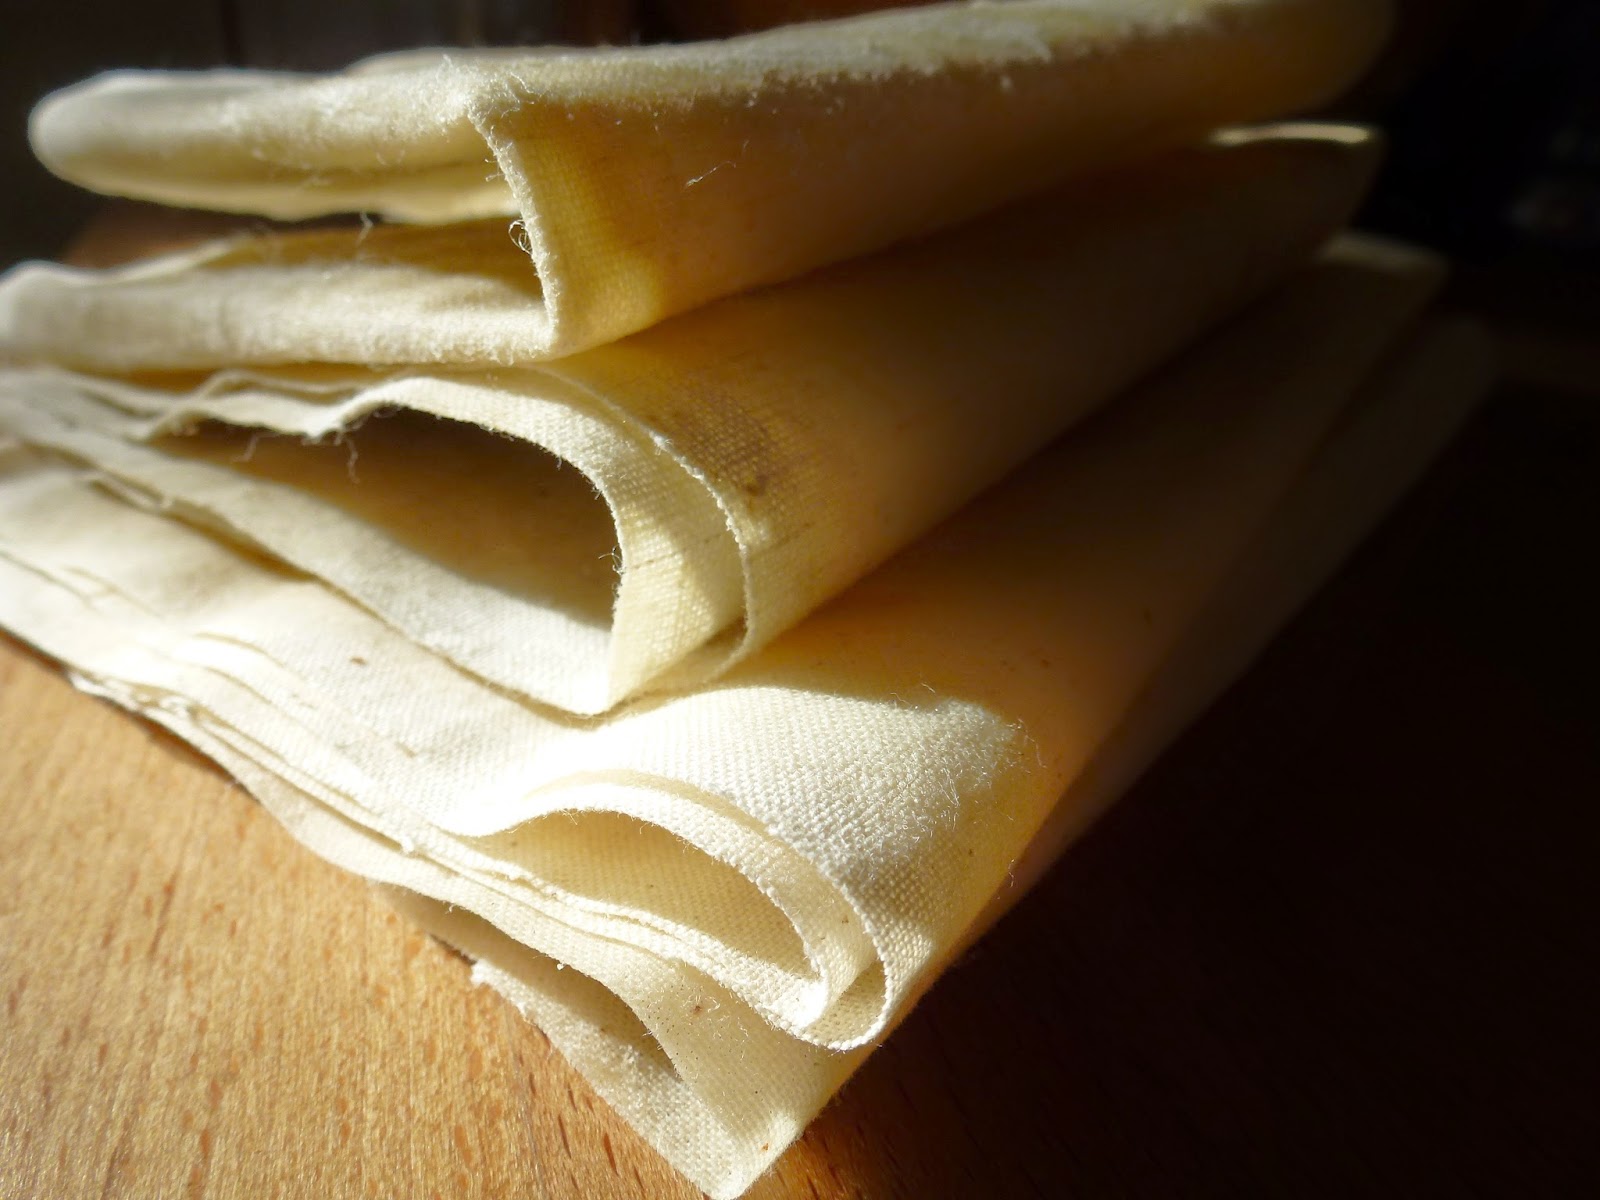
100% cotton muslin cloth, or natural linen cloth (cut to sizes you want)
pure natural beeswax (do not use parafin, soy or other coloured waxes)
grater or knife you reserved only for cutting beeswax
old paint brush
old baking sheet
oven

1) Cut your cotton or linen cloth to size.  You will likely want sizes that fit your various needs (sandwich size, cheese block size, larger sizes for covering bowls).  Remember the fabric needs to fit onto your baking sheet.

2) Shred your beeswax (or use beeswax pellets if you prefer).  Spread a fine layer across your your cloth to cover evenly. 

3) Preheat oven to 180F.  Do NOT bake any hotter than this as you risk a fire.  Please WATCH your oven carefully while the sheets are baking.  This only takes a few minutes to do so don't walk away!

4) Place your cloth with beeswax on the old baking sheet.  Put in the oven at 180F for about 5 minutes.  Watch to see if wax is melting. 

5) Once wax has begun to melt you can take out the sheet and spread the wax across the cloth with your old paintbrush.  This helps distribute it evenly.  Shred on more wax as needed and bake a few more minutes.  The wax will be just barely melted and it's time to take out your baking sheets.

6) Remove your beeswax cloths from the baking sheet as they will stick on once the wax hardens.  Let cool. 

7) Optional - you are serge or sew around the edges to prevent fraying but I find the beeswax keeps the cloth from fraying.

To wash - wipe with damp cloth, or rinse lightly with cool water.  Do not use hot water.


Saturday, April 12, 2014

Sourdough Workshop

We had one of our regular Saturday homesteading workshops here today.  This was the third workshop of a four-part "cultured kitchen" series which included four classes about creating live cultured foods at home - sauerkraut/kimchi, yogurt making, and sourdough bread (and apple cider vinegar is coming in the fall).

During today's workshop we walked through the steps of making and maintaining a sourdough starter, proofing the starter before bread baking (at least 8-12 hours), making the dough, and shaping loaves.  We were working with real sourdough (not preferments or recipes that use commercial yeast) - so ingredients are basic and wholesome - organic hard bread flour, cool filtered water, sea salt, and wild yeast!  The process really is quite simple, it's just a matter of making it part of a regular rhythm of your own weekly kitchen activities. 

Participants made their own sourdough starters to take home (which now need to be fed for the next 10 days, and maintained after).  We also sampled two sourdough breads I had made the night before, so that participants could see the full range of bread making from start (starter) to finish (eating) but still fit this all - a normally 2 day experience - into a 2 hour class.  We tried sesame caraway rye (made with a 100% organic rye starter); and wholegrain country sourdough loaf with millet & sunflower seeds.  Here are photos of the bread baking after today's workshop. 


Friday, April 11, 2014

Black Walnut Syrup!

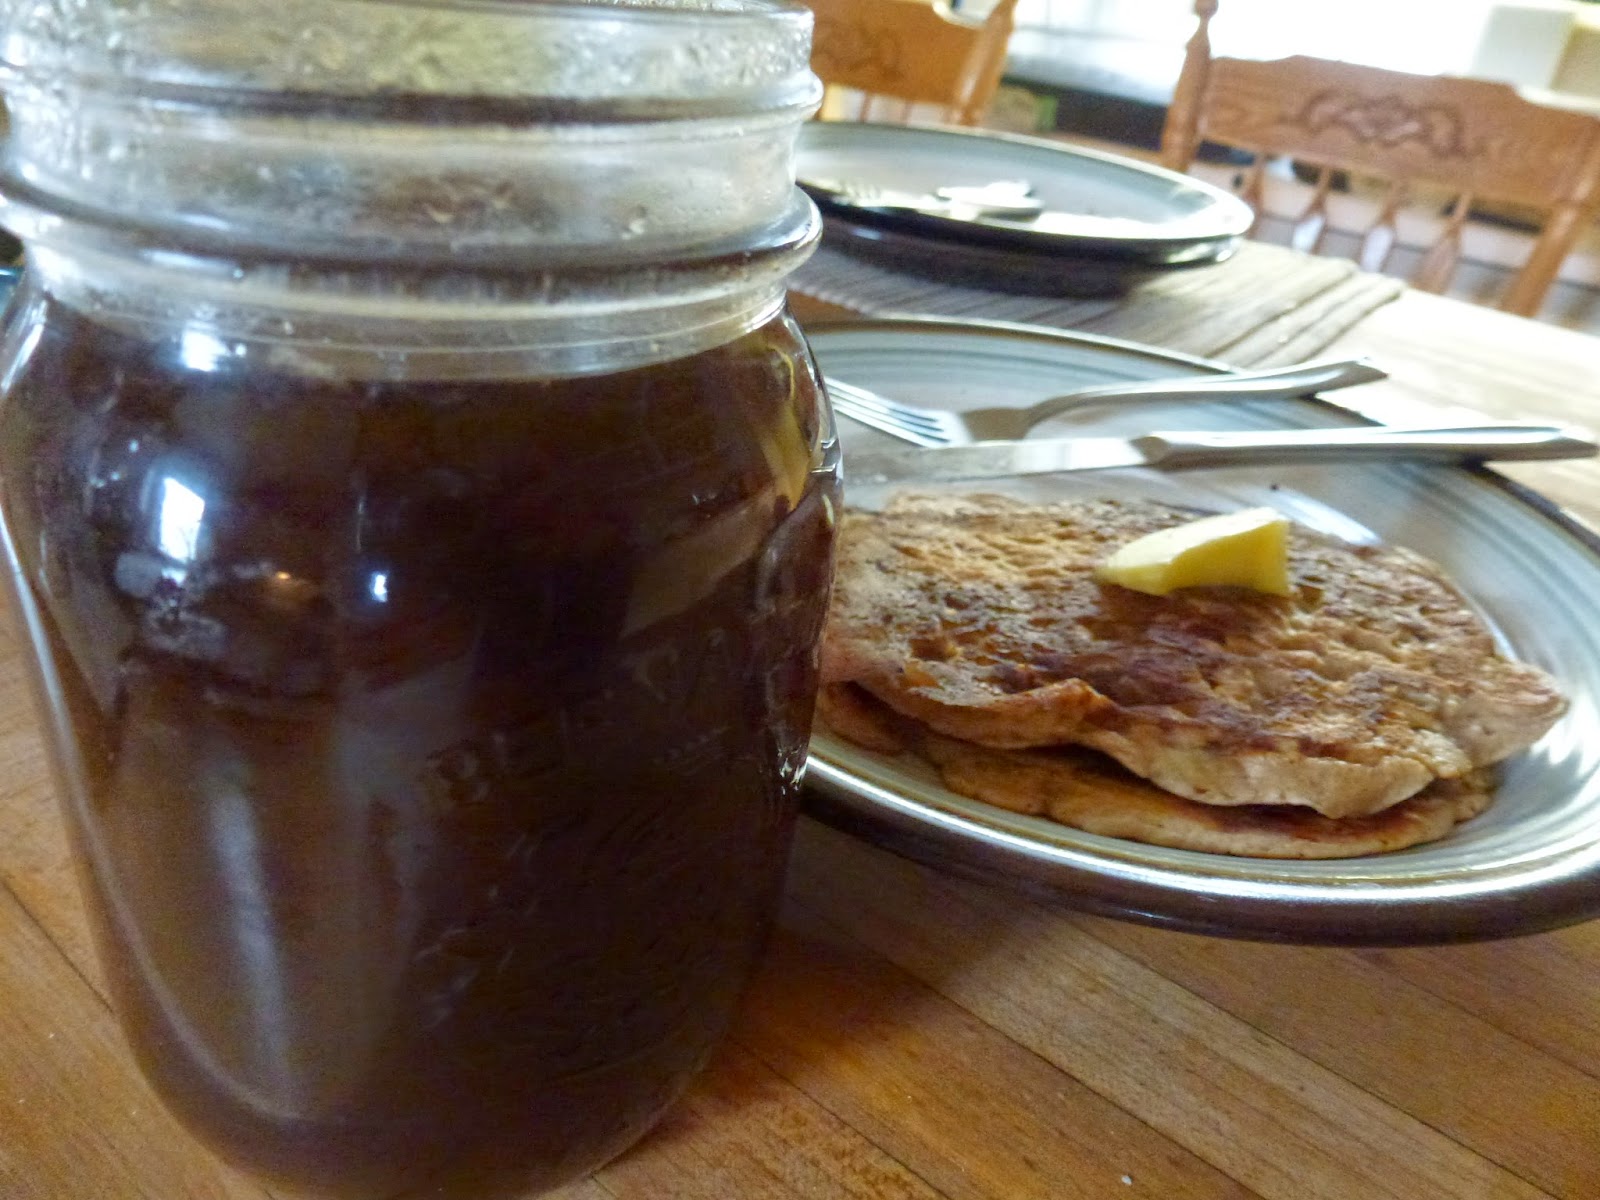
On our small urban farm we've been busy collecting black walnut sap.  After about 2 weeks of collecting sap (from 10 spiles), and 20 hours of boiling it down, from a collection of about 120 litres of sap down to 4 litres of delicious, ultra sweet black walnut syrup - and our first pancake breakfast with fresh homemade syrup - we think that's not too bad, and definitely worth the effort! 

When a friend asked how to know when the sap is syrup (so as not to keep boiling too long and get taffy or maple sugar!) we found that it becomes fairly obvious - the bubbles become brown and foaming, and it's important to watch that the pot doesn't boil over.  We tried to capture a photo of this in the 3rd photo down below.  For the first 15-18 hours of boiling there was still a lot of water evaporating so if possible this is a good stage to do outdoors (or with good ventilation or kitchen range hood fan going).  For the last hour or so it goes much more quickly.  With lots of stirring needed at this point so the near-syrup doesn't burn on the bottom of the pot, and a candy thermometre handy to read the temperature, the sap has become syrup when it reaches 219F.  At that point, pour into hot sterilized (clean) mason jars, scrape out the pot and lick the spoons!  Then start a batch of pancakes.  Yumm!  We keep a good stockpile of syrup in our fridge and store the rest for longer storage in mason jars in the freezer.  This keeps well for many months.