It still feels like winter with all the extra snowfall lately. Although we are starting our seedlings, it's still a long way from getting regular fresh greens from the garden. By growing sprouts in our indoor "kitchen garden" we have a great way to eat fresh local nutrition-packed greens during the cold winter months.
How to sprout? It's easy! We prefer the old fashioned methods of either using soil in trays (for pea shoots, wheatgrass, buckwheat or sunflower greens); or glass mason jars with mesh screens (for the small sprouts like microgreens, and small legumes). Other sprouting methods can be using special sprout bags, sprouting tray systems, or hydroponic systems. We like to keep things simple, efficient and cheap which is why we use containers we have around the house.
Remember, sprout seeds need to be pre-soaked in cool water so they germinate. Smaller seeds require less soaking time. If you stay on a regular soaking/sprouting schedule you will have a continuous supply of delicious greens. Our favourite place to buy organic sprout seeds is
Mumm's, a Canadian company offering certified organic non-GMO seeds and sprouting supplies. Here's how we sprout:
Tray Sprouting Method
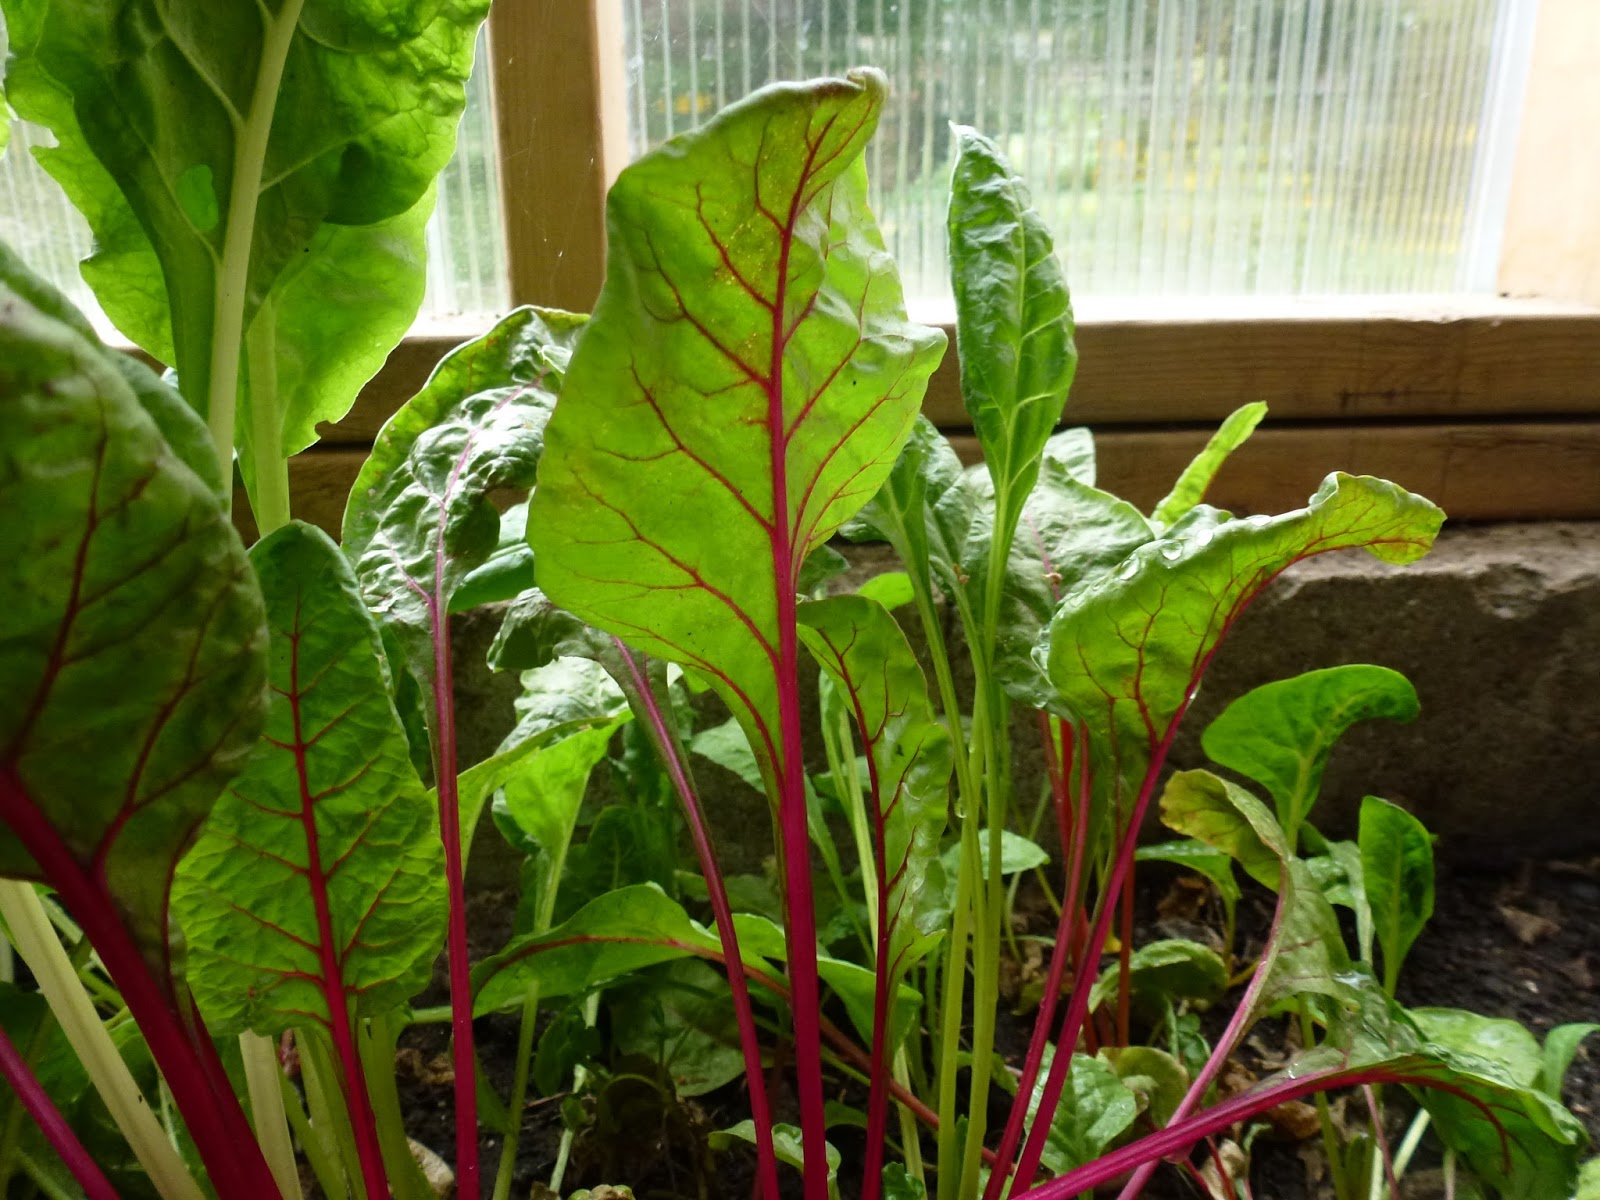
(for cutting greens such as peas, wheatgrass, buckwheat, sunflower and lettuce mixes):
1. Soak sprout seeds in cool water for 24 hours.
2. Fill a garden seedling tray half way full with moist organic potting soil.
3. Spread one layer of the soaked, drained sprout seeds evenly across the soil.
4. Cover sprout seeds with another layer of moist soil, just to cover.
5. Place clear plastic tray lid on top and set tray on top of refrigerator (where it's warm), or on a kitchen counter, or a grow rack if you have one.
6. Water with mister every day, keeping soil moist. Sprouts will start to grow in 3-4 days, and be ready to harvest within about 7-10 days. Some greens can be cut and grow again (e.g. pea shoots) and others are a one-time harvest only.
7. Eat fresh in salads, sandwiches, or juice the sprouts.
Mason Jar Sprouting Method
(for microgreens such as broccoli, mustard, alfalfa, also lentils, mung, adzuki, chickpea, radish, etc)
You will need:
- wide mouth large glass mason jar
- piece of fine mesh screening or cheesecloth
- rubber elastic band
- sprout seeds
1. Soak sprout seeds in water (2-24 hours, depending on size of seed - usually they tiny seeds like broccoli only need 2 hours, but larger seeds and beans need upto 24 hours soaking time).
2. Drain seeds well. Add about 1 Tbsp seeds to 1 large mason jar. Close tightly with mesh screen.
3. Tip jar upside down into a small bowl at an angle so the water drains completely.
4. Continue to rinse and drain your sprouts twice a day, using cool clean water.
5. After about 4-7 days your sprouts will be ready to eat. Taste them throughout the sprouting period to see when they are ready. Store sprouts (completely drained) in refrigerator for several days once they are fully sprouted.
Eat on your favourite wholegrain seed crackers (
see our recipe here), in salads, sprinkled on soups or stir-fry, sandwiches, etc.