Pages

Showing posts with label wool felting. Show all posts

Sunday, December 18, 2016

Making felted soap & wool dryer balls

How we love wool in this house!  This weekend we held a favourite workshop here - all about wet felting wool.  Participants made wool felted soaps and wool dryer balls, and we talked about all the ways that wet felted wool can be used - to make clothing (hats, slippers, jackets), three-dimensional items by felting over a form, artwork pieces, and even larger pieces like tents and yurts.  Traditionally the yurts in Mongolia are made of felted wool.  The fleece is made wet, then rolled into huge long tight rolls and pulled by horse rolling along the ground behind in order to felt!  Amazing!  Other large pieces can be wet felted by walking on the wet wool, which felts up a large mat in no time at all!  Felted wool is very dense and water-proof, wind-tight, warm and durable, which is why it's so versatile for all these types of uses.

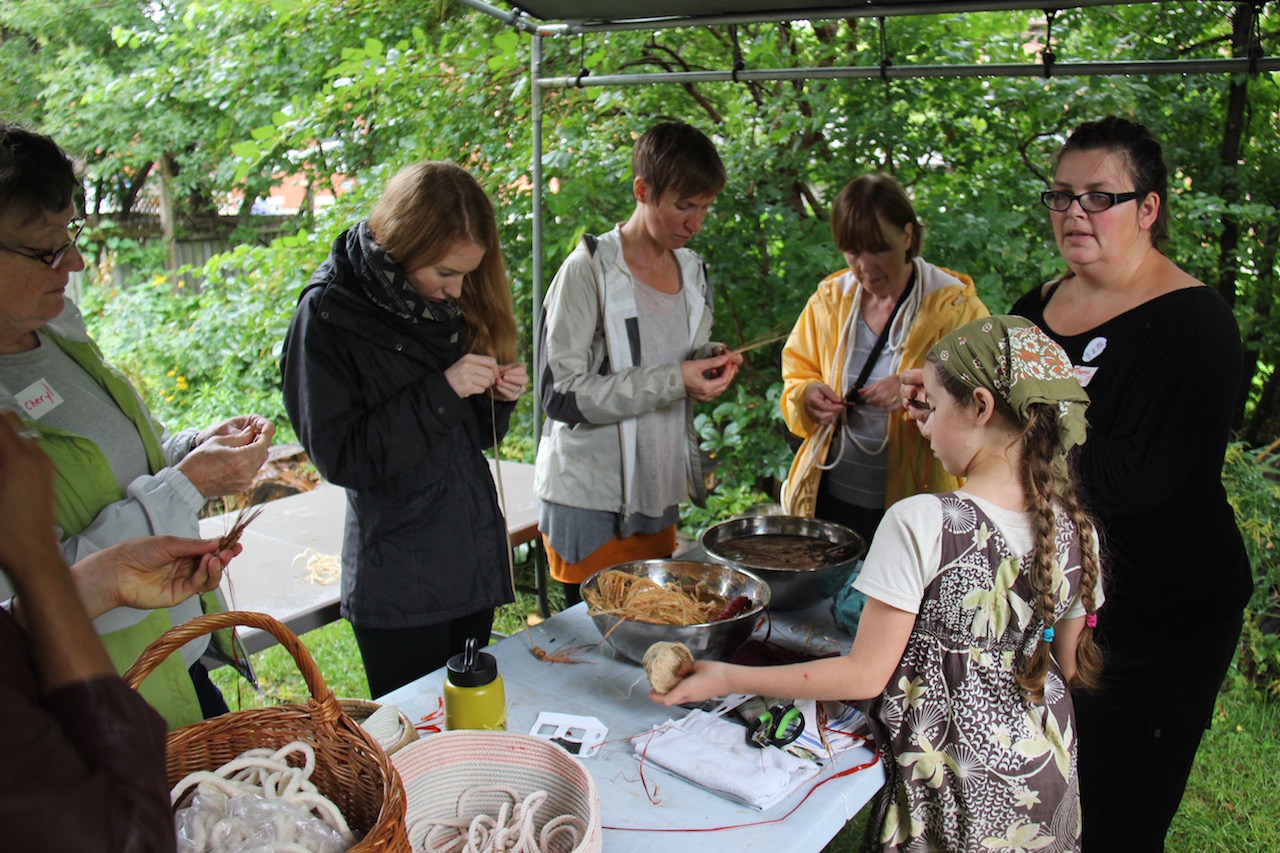
In our workshop participants learned the basics of wet felting while working on small projects, but this technique can be applied in many other ways.

Why make felted soap?
It is a great way to use of small ends and pieces of soap (for soap makers this is a perfect recycling project as we always have small pieces and odd-cut bars lying around); and felted soap is like a wash cloth and soap all in one; plus teh wool felting helps make soap bar more long lasting as you use it - these felted soap bars seem to go on for ever!

How to felt soap:
1) take small bar of soap, wrap in your choice of wool roving (best done in thin layers, to fully cover the soap bar)
2) wrap soap and roving in a piece of cotton jersey cloth (stretchy cloth) and secure with rubber bands
3) dip this soap "package" into hot water that has dish soap added, let it get fully wet and soapy
4) rub soap bar on a piece of bubble wrap or a sushi mat or anything else abrasive, and continue to scrub for about 5-15 minutes (dipping soap bar into hot water occasionally)
5) unwrap soap, check if wool is felting, add more wool or continue to felt it until you are happy
6) let soap dry for 24-48 hours, wool will continue to tighten and shrink around the bar as it dries


Why make felted wool dryer balls?
Wool dryer balls are so simple to make, and if used in the dryer can save energy by cutting down on drying time (they absorb water from your wet clothes) and eliminate static naturally.  For those who use a clothesline and don't need dryer balls, these balls can also be used as cat toys (add a little bell in the middle before felting), or as soft natural toys for babies and toddlers, or juggling balls for older kids, etc.  

Wool dryer balls are great recycling projects too.  Use scraps of old wool sweaters, scraps of 100% wool yarn, and odd bits of wool roving, and you are done!

How to make your own wool dryer balls / wool ball toys:
1) Layer one: Roll yarn or wool sweater bits (100% wool only) into a small ball.
2) Layer two: Secure with more wool yarn and keep wrapping in a ball shape. 
3) Layer three: Add colourful wool roving over top layer.  Make the rolled up wool ball slightly larger than you want your finished felted ball to be, as felting will shrink the ball.
4) Secure this ball in an old nylon stocking, tie up the nylon tightly around the ball, and then make your next wool ball until the entire nylon is full. 
5) Throw your nylon "string" of wool balls into your washing machine with a load of towels and wash on hot at least twice.  Balls will felt perfectly every time!  Let dry well between uses.


Tuesday, November 29, 2016

DIY Wool Balls

So simple!  Wool dryer balls made from scraps of upcycled wool sweaters, wool ends of yarn, and wool roving.  They can be used as dryer balls to cut down on drying time and save energy; or as cat toys (add a little catnip or a small bell inside before felting); or dog toys; or soft playtoys for toddlers to toss and catch.

How to make wool felted balls:
1) Make a small bundle of 100% woolen sweater scraps.  These can be off-cuts from any larger felting project you've used your sweaters for.  Any colour will be fine as you won't see this inner core once the ball is finished.

2) Wind 100% wool yarn around the woolen sweater scraps tightly.  Wind into a small ball, several inches in diametre (completely cover up the woolen sweater scraps with your yarn windings). 

3) Then wind layers of wool roving in colours you like (these will be visible) around the yarn ball.  The thinner the layers the better.

4) Stuff you wool ball into an old nylon stocking and tie up tightly to secure.

5) Repeat with as many balls as you like, to fill up the whole nylon.

6) Wash on hot, 2-3 full cycles in a load with towels.  Wool will be tightly felted once you are done!  Remove from the nylon, let balls dry.  Then use!

For dryer use, they can be sprinkled with a bit of pure lavender essential oil (or other scent) optional.  Use 2-12 per load (more balls decreases drying time). 

We LOVE these balls to toss around with our toddler, and for our cat to play with. They make lovely gifts, simple and recycled, and useful too.


Thursday, October 20, 2016

Waldorf-inspired art classes for kids: wool felting

Last week the kids in our Waldorf art classes tried their hands at another wool project - wool felting.  Working with soft wool roving in vibrant colours is always a favourite kids activity.  The tactile nature of wool felting is soothing and relaxing, and the art that comes from it is always beautiful even for a beginner. 

In the class we talked about where we find felted wool in our lives - maybe as coasters, under table or chair legs, made into warm waterproof slippers or winter boot liners, wool diaper covers for babies, and even (in some cultures) traditionally made into houses such as the amazing wool yurts in Mongolia in which whole families can live!

There are many ways to felt wool - any which of us hasn't done some accidental wool felting at least once when we shrink a favourite 100% wool sweater in the wash?  The basic idea with wet felting is to use hot water, soap, and friction, to bring the wool barbs together tightly into a wool mat.  The more friction or agitation, the tighter the wool felt will become.  There is also needle felting in which a sharp felting needle is used to poke at the wool barbs to bring them together.  We used several techniques with the kids - the younger group wet felting using a simple ziploc bag method (see below), and the older group used bubble wrap and mat rolling method (see below).  We used white wool roving as our base "canvas" and layered colours on top.  There were such lovely art pieces that came out of this, and most of the kids could have keep going long after class was over. 

How to wet felt with wool:

Ziploc Bag Technique (great for younger kids)
a) Lay out base wool roving (white) on a table.  Mist with hot soapy water.  Press firmly down with both hands on wet wool to flatten.
b) Layer any coloured wool into a pattern as desired on top of the white wool roving.  Mist again.
c) Place wet wool into ziploc bag, then flatten it out as best you can before sealing the bag.
d) Agitate the bag, pressing, pounding and rolling it, to felt the wool.
e) Take out wool, let dry on flat surface.  It will tighten up and shrink a little as it dries overnight.

Bubble Wrap & Mat Technique (great for older kids)
a) Lay out bamboo sushi mat, and cover with one piece of bubble wrap that is a similar size to the mat.
b) Now lay out while wool roving on the bubble wrap, and mist with hot soapy water.
c) Lay out colours of roving into a picture or pattern as desired.  Mist again. 
d) Carefully roll up the sushi mat around the bubble wrap and wool. 
e) Agitate the wool by rolling and pressing the mat as firmly as possible.  The longer this is done, then more felted the piece will become.
f) Unroll then let wool art piece dry on a flat surface.  It will tighten up and shrink a little as it dries overnight.


Friday, September 23, 2016

Mendfulness Retreat at Little City Farm

This past weekend we held our first Mendfulness Gathering here at Little City Farm - an amazing day-long fibre arts retreat that focused on repurposing, reusing and upcycling clothes and working with natural fibres (e.g. spinning and felting wool, natural plant dyes on fabric).  There were 12 workshops that participants could choose from throughout the day, including pattern drafting, creative mending, cyanotype prints on fabric, rag rug making, basket making, and more!  Also great conversations throughout the day, yoga at noon, wood-fired flatbreads and wholesome delicious food at lunch, a free swap give-away area, and mini marketplace at the end of the day.  What a full, inspiring (and rainy) day filled with hands-on projects to take home, and wonderfully creative people all around.  Thanks for everyone's help in making this retreat wonderful, all our volunteers, photographer, workshop facilitators, and participants!

We hope to host monthly "mendfulness" get-togethers (like old-fashioned "mending circles") here at Little City Farm over the winter, to bring together friends, great food, and a chance to share our skills at repairing and repurposing our clothes.  By learning to mend, darn, patch and repurpose our clothes we are not only saving money for our families, but also keeping perfectly good clothes from going to the landfill, and empowering ourselves with new skills to make us more active producers as opposed to passive consumers.  Could you start a mending circle in your neighbourhood?

Here are a few photos from the day -despite the rain we had many busy hands sharing skills and doing beautiful work: