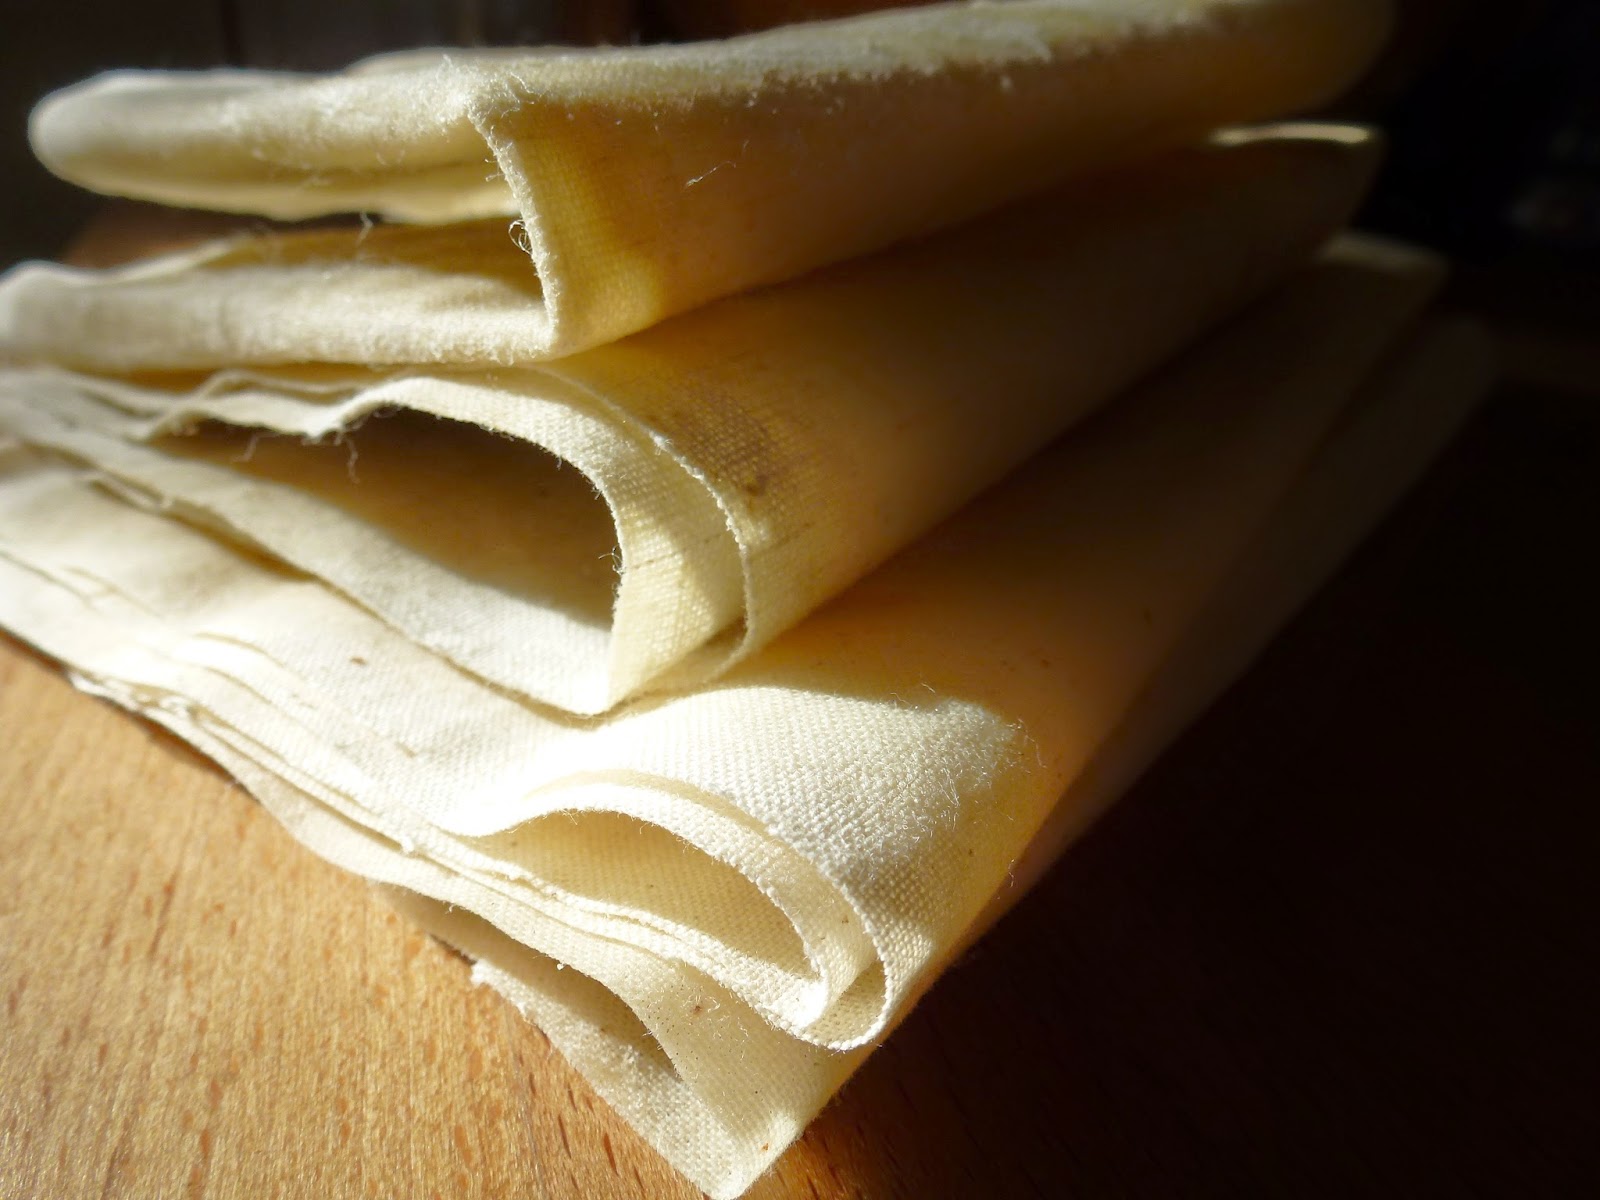
DIY Beeswax Wraps
You will need:
100% cotton muslin cloth, or natural linen cloth (cut to sizes you want)
pure natural beeswax (do not use parafin, soy or other coloured waxes)
grater or knife you reserved only for cutting beeswax
old paint brush
old baking sheet
oven
1) Cut your cotton or linen cloth to size. You will likely want sizes that fit your various needs (sandwich size, cheese block size, larger sizes for covering bowls). Remember the fabric needs to fit onto your baking sheet.
2) Shred your beeswax (or use beeswax pellets if you prefer). Spread a fine layer across your your cloth to cover evenly.
3) Preheat oven to 180F. Do NOT bake any hotter than this as you risk a fire. Please WATCH your oven carefully while the sheets are baking. This only takes a few minutes to do so don't walk away!
4) Place your cloth with beeswax on the old baking sheet. Put in the oven at 180F for about 5 minutes. Watch to see if wax is melting.
5) Once wax has begun to melt you can take out the sheet and spread the wax across the cloth with your old paintbrush. This helps distribute it evenly. Shred on more wax as needed and bake a few more minutes. The wax will be just barely melted and it's time to take out your baking sheets.
6) Remove your beeswax cloths from the baking sheet as they will stick on once the wax hardens. Let cool.
7) Optional - you are serge or sew around the edges to prevent fraying but I find the beeswax keeps the cloth from fraying.
To wash - wipe with damp cloth, or rinse lightly with cool water. Do not use hot water.


I love these! I gave some away at Christmas too! It's amazing how many you could use. So great. Thanks for sharing.
ReplyDelete