Pages

Showing posts with label DIY projects. Show all posts

Tuesday, November 29, 2016

DIY Wool Balls

So simple!  Wool dryer balls made from scraps of upcycled wool sweaters, wool ends of yarn, and wool roving.  They can be used as dryer balls to cut down on drying time and save energy; or as cat toys (add a little catnip or a small bell inside before felting); or dog toys; or soft playtoys for toddlers to toss and catch.

How to make wool felted balls:
1) Make a small bundle of 100% woolen sweater scraps.  These can be off-cuts from any larger felting project you've used your sweaters for.  Any colour will be fine as you won't see this inner core once the ball is finished.

2) Wind 100% wool yarn around the woolen sweater scraps tightly.  Wind into a small ball, several inches in diametre (completely cover up the woolen sweater scraps with your yarn windings). 

3) Then wind layers of wool roving in colours you like (these will be visible) around the yarn ball.  The thinner the layers the better.

4) Stuff you wool ball into an old nylon stocking and tie up tightly to secure.

5) Repeat with as many balls as you like, to fill up the whole nylon.

6) Wash on hot, 2-3 full cycles in a load with towels.  Wool will be tightly felted once you are done!  Remove from the nylon, let balls dry.  Then use!

For dryer use, they can be sprinkled with a bit of pure lavender essential oil (or other scent) optional.  Use 2-12 per load (more balls decreases drying time). 

We LOVE these balls to toss around with our toddler, and for our cat to play with. They make lovely gifts, simple and recycled, and useful too.


Wednesday, June 08, 2016

Preserve - Newest Issue of Taproot Magazine

If you have not yet found Taproot Magazine, it's time to check it out!  Focusing on gardening, farming, making, cooking, dreaming, with outstanding artwork, photography, essays and poetry, recipes & lots of DIY projects, this magazine has it all.

Each time a new issue arrives in our mailbox (yes, a real paper copy magazine to read with cup of tea in hand) my 8 year old daughter and I wrestle to see who gets to flip through it first.  She looks for the paper dolls, colouring pages, farm animal photography.  I admire the artwork, food photography, latest recipes and stories.  My husband admits he eventually makes his way through all the articles and stories too (even if it does give him pangs for a larger farm, some day).  But the magazine makes us feel connected to a larger community worldwide of those trying to live honest, simple, handmade, heart-filled lives.  We feel renewed in our efforts here on our little urban homestead to keep mending, baking, fermenting, unschooling, gardening, wild-harvesting, healing, and so forth - adding new insights and inspiration to what we already do in our day to day life.

In the current issue, check out our article - Homegrown Sprouts!  You'll learn how to grow sprouts at home, and get recipes for super sprout salad, and morning greens smoothie, plus learn a little more about how and why we love to sprout.


Saturday, November 22, 2014

Say No to Plastic! DIY Beeswax Wraps

This is my new favourite gift to give to friends and family.  It's simple to make, easy to use, lasts indefinitely,  and cuts down on one of the most un-reusable plastics in most people's homes - plastic food wrap!   Here's a quick tutorial on how to make your own natural beeswax wraps.  These are perfect for wrapped your lunch, left over snacks, blocks of cheese in the fridge, and more.  I have a very large beeswax wrap I made to fit my bread mixing bowl, so I can wrap my dough while it rises overnight. 

DIY Beeswax Wraps

You will need:
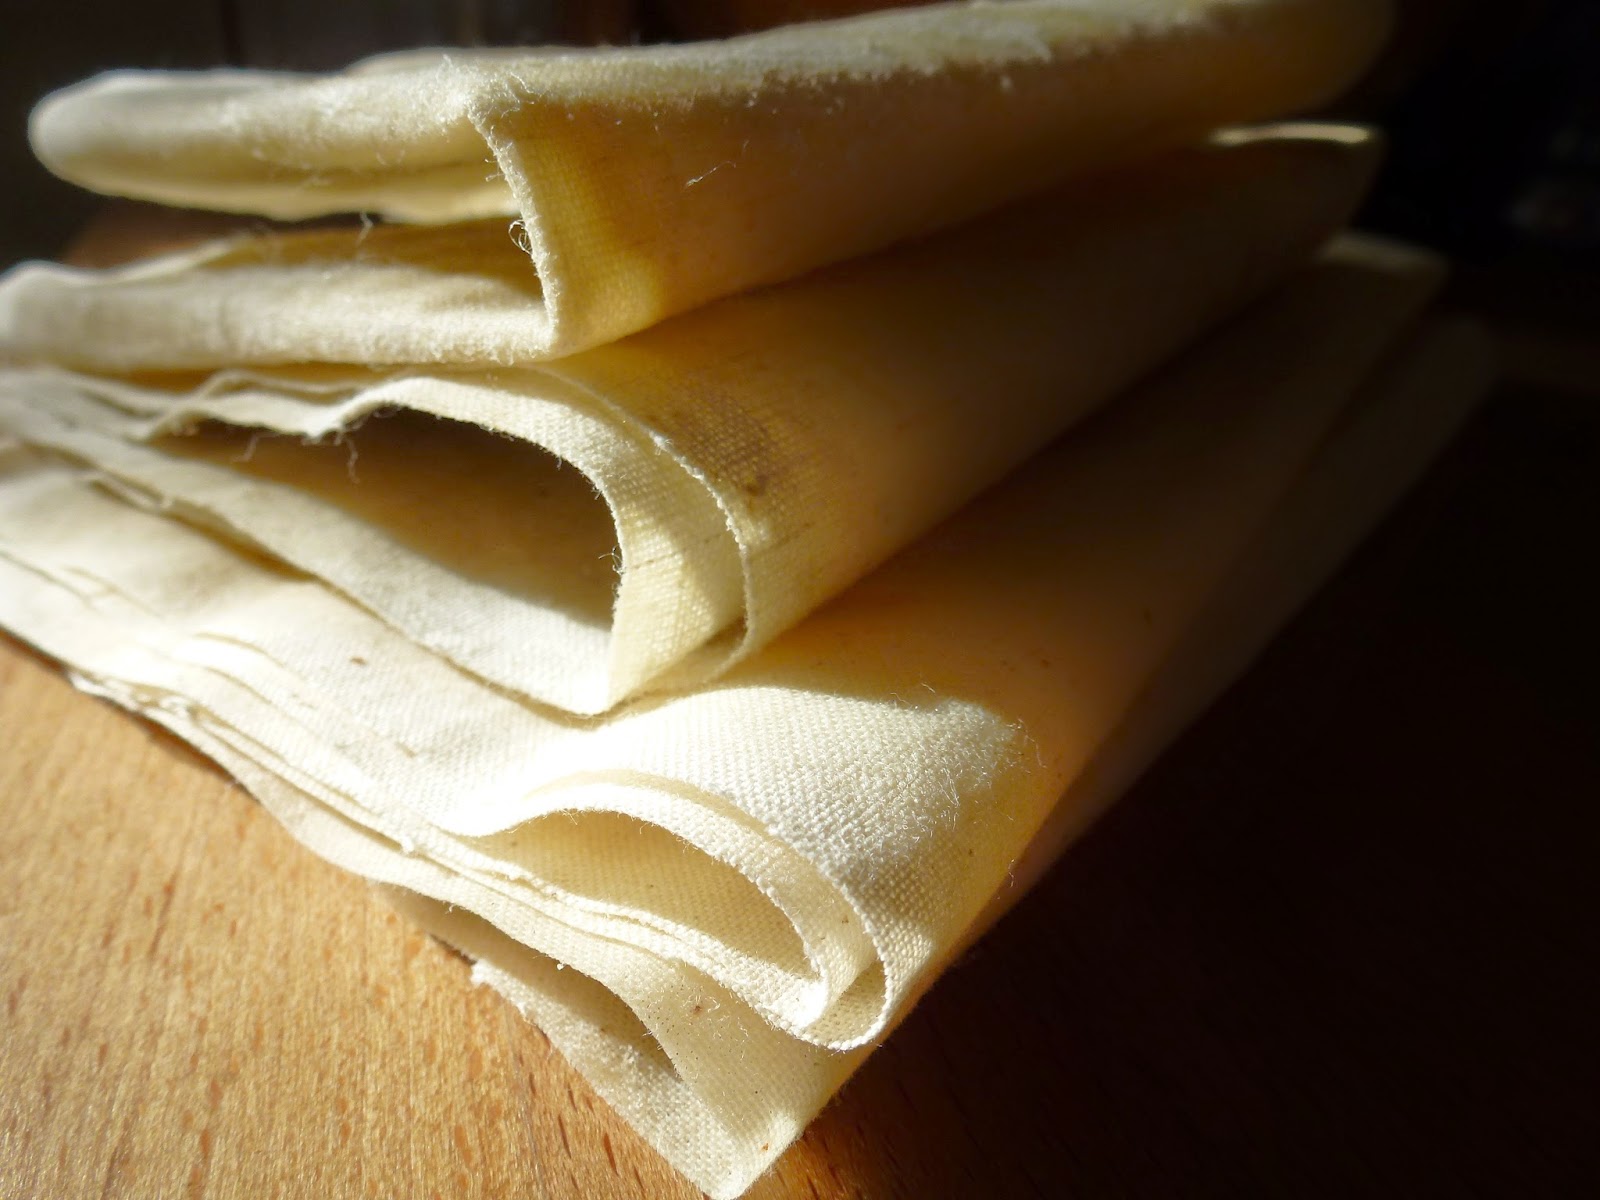
100% cotton muslin cloth, or natural linen cloth (cut to sizes you want)
pure natural beeswax (do not use parafin, soy or other coloured waxes)
grater or knife you reserved only for cutting beeswax
old paint brush
old baking sheet
oven

1) Cut your cotton or linen cloth to size.  You will likely want sizes that fit your various needs (sandwich size, cheese block size, larger sizes for covering bowls).  Remember the fabric needs to fit onto your baking sheet.

2) Shred your beeswax (or use beeswax pellets if you prefer).  Spread a fine layer across your your cloth to cover evenly. 

3) Preheat oven to 180F.  Do NOT bake any hotter than this as you risk a fire.  Please WATCH your oven carefully while the sheets are baking.  This only takes a few minutes to do so don't walk away!

4) Place your cloth with beeswax on the old baking sheet.  Put in the oven at 180F for about 5 minutes.  Watch to see if wax is melting. 

5) Once wax has begun to melt you can take out the sheet and spread the wax across the cloth with your old paintbrush.  This helps distribute it evenly.  Shred on more wax as needed and bake a few more minutes.  The wax will be just barely melted and it's time to take out your baking sheets.

6) Remove your beeswax cloths from the baking sheet as they will stick on once the wax hardens.  Let cool. 

7) Optional - you are serge or sew around the edges to prevent fraying but I find the beeswax keeps the cloth from fraying.

To wash - wipe with damp cloth, or rinse lightly with cool water.  Do not use hot water.