Pages

Showing posts with label wild foods. Show all posts

Saturday, August 06, 2016

Local Superfood Spotlight: Purslane

We love wild foods here, currently harvesting the last dandelion greens, lambs quarters, plantain, and loads of wild grape leaves.  Purslane (Portulaca oleracea) is another wild food that is abundant, but many people are not so familiar with.  It grows wild on the edges of our garden and once it arrives it is plentiful (though not entirely invasive as it's easy enough to pull up by the shallow roots).  But it is delicious (like a rich spinach or chard) and needs to be used - plus, the health benefits of this local superfood are abundant:  it is rich in fibre, vitamins and minerals, and contains a huge amount of omega-3 (some say more than any other leafy plant!).  It is good for our skin, urinary and digestive systems. It also has a perfect combination between antioxidants, omega 3 fatty acids, potassium, calcium, magnesium and carotene.  

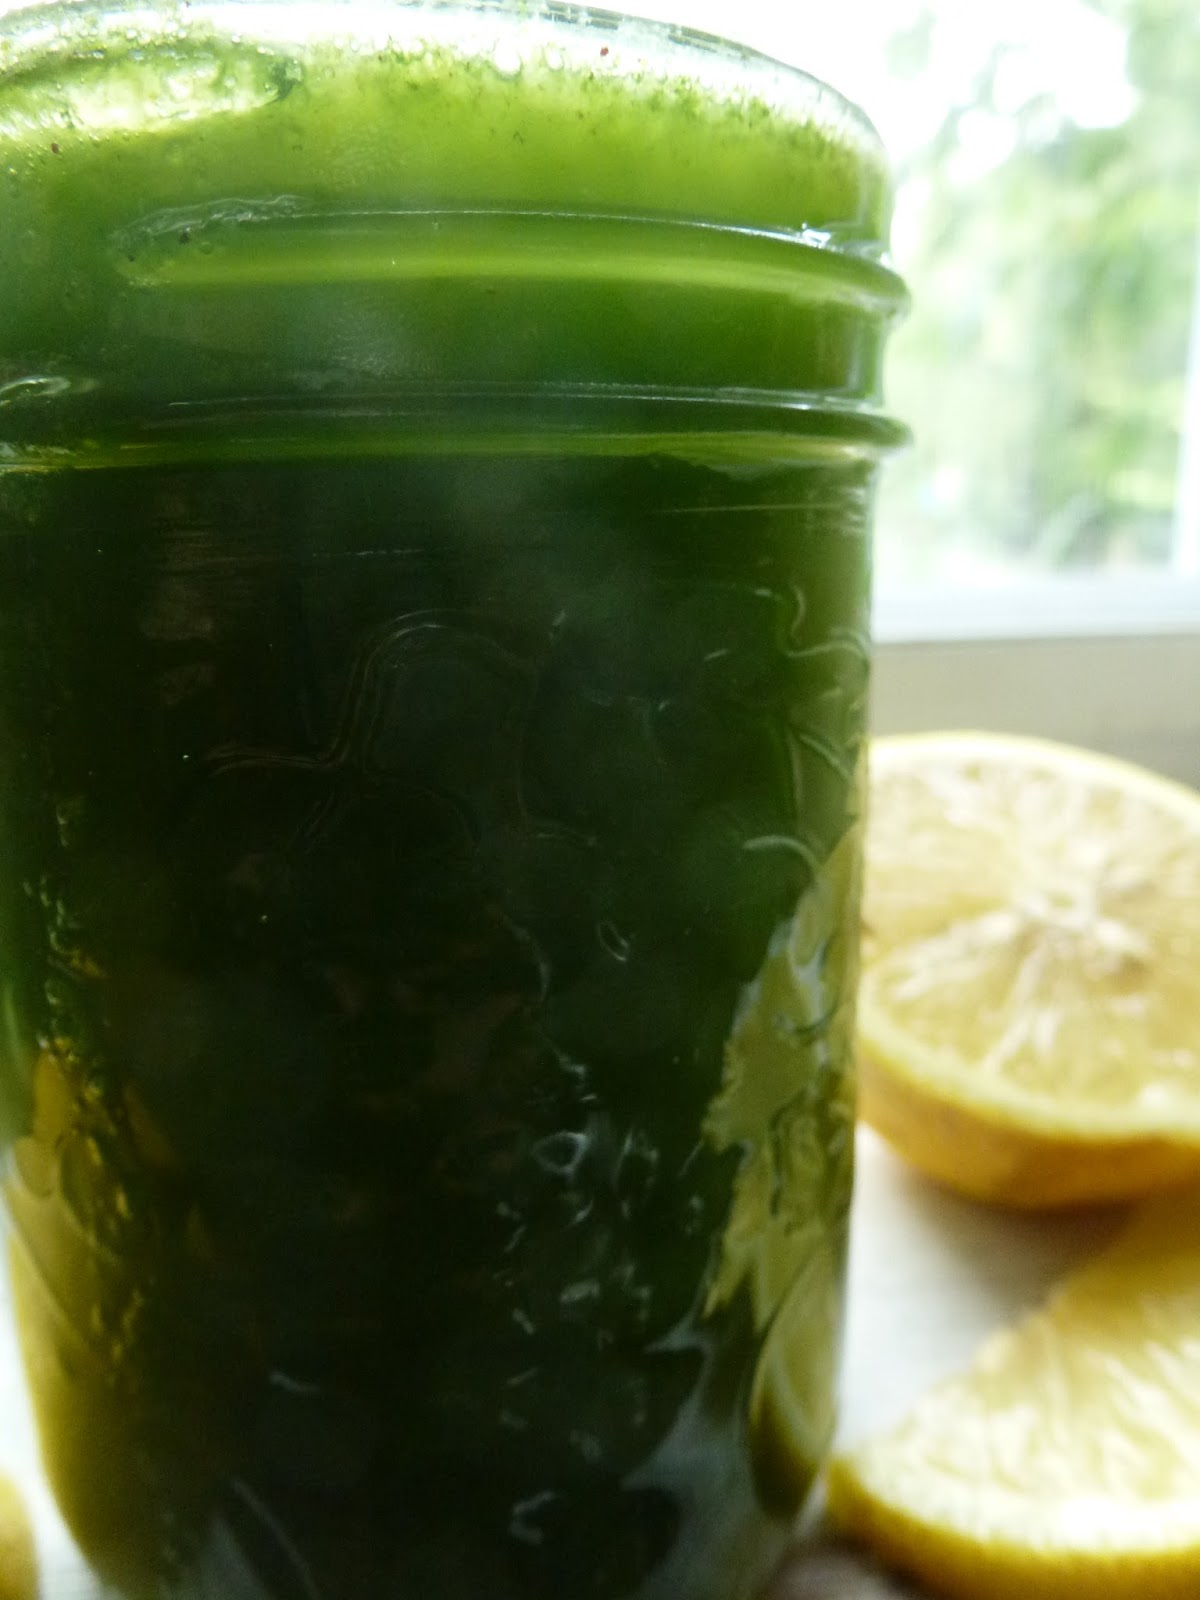
A friend shared her purslane lemonade suggestion with us.  Since we love making herbal lemonades, and herbal-rich smoothies, this made a great addition to our summer drink selections.  Here is our variation on the purslane elixir.  If you can't find wild purslane it can also be grown indoors or in a greenhouse/garden bed as a microgreen. 

Purslane Elixir

You will need:
1-2 lemons
honey or maple syrup to taste
large handful fresh purslane
2 cups water
2-4 ice cubes

1) Put 2 cups water into blended.  Add juice of lemons and handful purslane, and ice.  Blend on high until smooth (about 1 minute).
2) Strain drink for lemonade consistency, or don't strain and drink as a rich green smoothie.  
3) Sweeten to taste.


Sunday, June 05, 2016

Wild Plant Medicine Workshop 1 - focus on Nettle

I absolutely love nettle.  I think it's one of my favourite "wild" medicinals, with such a versatile range of applications and uses.   And since it is at it's peak right now, we offered our first workshop in the "wild plant medicine (in the city)" series on the topic of Nettle! 

Not only is it delicious, packed with nutrition (iron, calcium, vit A and C, 25% protein by weight), but healing to many aspects of our body (men, women, children, elders alike).  It is an alterative, working to bring our body back into healthy balance, meeting us where we need.  It helps stimulate all systems of elimination in the body, this removing toxins and wastes and realigning our bodies toward healthy wholeness.  It is helpful for allergies, arthritis, rheumatism, recovering from illness, beneficial for nursing mothers, and generally toning to both the male and female reproductive systems.  It does not have counter-indications with other herbs/medicines, and can be used freely and safely.  Primarily the leaves are used, harvested before they start to flower.  It can be tinctured, dried for tea or used fresh for tea and cooking (the drying, steaming or cooking removes the sting from the leaves).  See a few of our favourite nettle recipes below - taking our "medicine" as food is always a great way to go!

Nettle has a long history of co-habitation with humans.  Wherever old human settlements are in the northern boreal regions of the globe (Europe, Asia, North America) likely you will find nettle.  It is said that nettle has often been found growing over old burial grounds, bringing to mind that this special plant is protecting sacred ground - it's stinging properties mean that humans will not easily trample through a nettle patch.

Nettle is also beneficial for many species of animals - several kinds of butterfly larva only eat nettle, and also nettle is a useful food source for ground birds, reptiles and rodents in riparian areas.

So, don't think of this wonderful wild plant as just a "weed" - bring some nettle into your life, ethically harvesting* where it is growing along streams and shady moist riverbanks and wooded areas, or even planting a small patch in a contained area of your back woods/garden (be warned, nettle spreads rapidly by underground roots and rhizomes so do keep it contained by trenching the area or planting in a container).  Remember, it's called "stinging nettle" for a good reason - harvest with caution, wearing long sleeves, pants and gloves as it can cause severe contact dermatitis (red stinging itching welts) from the formic acid it releases into exposed skin through it's stinging hairs. 

* ethical wild harvesting - meaning to harvest carefully and respectfully, leaving no trace that you have been harvesting a wild plant (take no more than 1/4 of a patch, do not harvest entire plants, cover soil back to leave ground undisturbed, and leave healthy plants to go to seed and grow in the coming years)
* and when harvesting in the wild, be sure to know FOR SURE that you have properly identified the plant (use a good ID book with clear photos or sketches of plants in various times of season, or go with an experiences wild harvester who knows how to safely harvest and identify - there are some look-alike plants that can be toxic)

Here is an delicious example where nettle makes a creamy soup in place of any dark leafy green (spinach, chard, kale).  It was paired with sorrel in this lemony green soup above.


And in our workshop we made a nettle-based "medicinal" pesto - deep green, garlic-y, and delicious!

Nettle-Walnut Pesto (cheesy version)

8 cups nettle leaves (top 6 inches, removed from stalk)
2 cups other wild green edibles (we used dandelion and plantain leaves, but you could use traditional pesto garden herbs like basil or parlsey)
1 cup nuts (e.g. walnuts, pine nuts, brazil nuts, almonds)
1 cup seeds (e.g. sunflower, pumpkin, hemp)
2 cups olive oil (more or less, to get consistency you want)
1 cup parmesan, grated
1/2 cup Asiago, grated
10 clove of garlic
3 tsp sea salt

Nettle-Seed Pesto (vegan version)

8 cups nettle leaves
2 cups other wild green edibles
2 cups seeds (e.g. pumpkin, sunflower, hemp or combination of these - add in nuts if you like in place of seeds)
1 cup nutritional yeast
1-2 cups olive oil (to get consistency you want)
10 cloves garlic
3 tsp sea salt

Method:
1) Blend greens with seeds and some oil in small batches in a food processor.
2) Then add cheese/nutritional yeast, garlic and sea salt and blend well.
3) Add more olive oil if necessary to get the consistency you want.  Do not thin with water as it will create a paste, not a thick pesto sauce.
4) Taste, adjust flavours - remember the pesto will mellow and blend flavours as it sits.
5) Scoop into jars and store in fridge (for about 2 weeks) or freezer for longer term.
6) Serve with crackers, zucchini chips, as a dip for fresh veggies, mixed into pasta, on bread, mixed into mayo for a delicious veggie burger experience, and so many other great uses for pesto! 

Coming up next month in the "wild plant medicine (in the city)" series: 
Plantain - and making healing oils, salves, and bug lotions with plantain

Monday, May 02, 2016

New classes! Wild Plant Medicine (in the city)!


We're excited to host a series of Wild Plant Medicine workshops at Little City Farm this summer & fall. Learn about common local so-called weeds that are extremely beneficial to us as nutritious and healing plants. In each session we will focus on one specific wild medicinal plant that is in season locally, learn the plant history, folklore and traditional uses, harvest the plant, and make one herbal remedy together with the plant (participants will take home samples of the remedies). Sign up by class.

June 4 from 1-3 pm: NETTLE, Herbal Infusions & Herbal Pestos 
Learn about nettle (Urtica dioica). How to identify, harvest, dry and store nettle leaf, folk traditions and benefits of nettle, making a strong medicinal infusion with both fresh and dried nettle, and making herbal nettle pesto.

July 9 from 1- 3 pm: PLANTAIN, Herbal Oils & Bug Lotions 
Learn about plantain (Plantago major). How to identify, harvest, dry and store plantain leaf, folk traditions and benefits of plantain, making a solar infused herbal oil with plantain, and creating an anti-itch bug lotion with this oil.

Aug 13 from 1- 3 pm: COMFREY, Herbal Poultices & Healing Salves
Learn about comfrey (Symphytum officinalis). How to identify, harvest, dry and store comfrey (leaf and root), folk traditions and benefits of comfrey, making comfrey poultices and an all purpose healing salve with comfrey leaf.

Sept 10 from 1-3 pm : GOLDENROD, Herbal Vinegars & Shrubs (Sipping Vinegars)
Learn about goldenrod (Solidago canadensis). How to identify, harvest, dry and store goldenrod, folk traditions and benefits of goldenrod, making goldenrod vinegars and shrubs (traditional delicious sipping vinegars).

Oct 1 from 1-3 pm : ROSEHIPS, Herbal Tinctures & Decoctions
Learn about wild rosehips (Rosa canina). How to identify, harvest, dry and store rosehips, folk traditions and benefits of rosehips, making rosehip tinctures and decoctions for winter.

Register here or learn more...

Sunday, July 26, 2015

Local Super Food - Chokecherries!

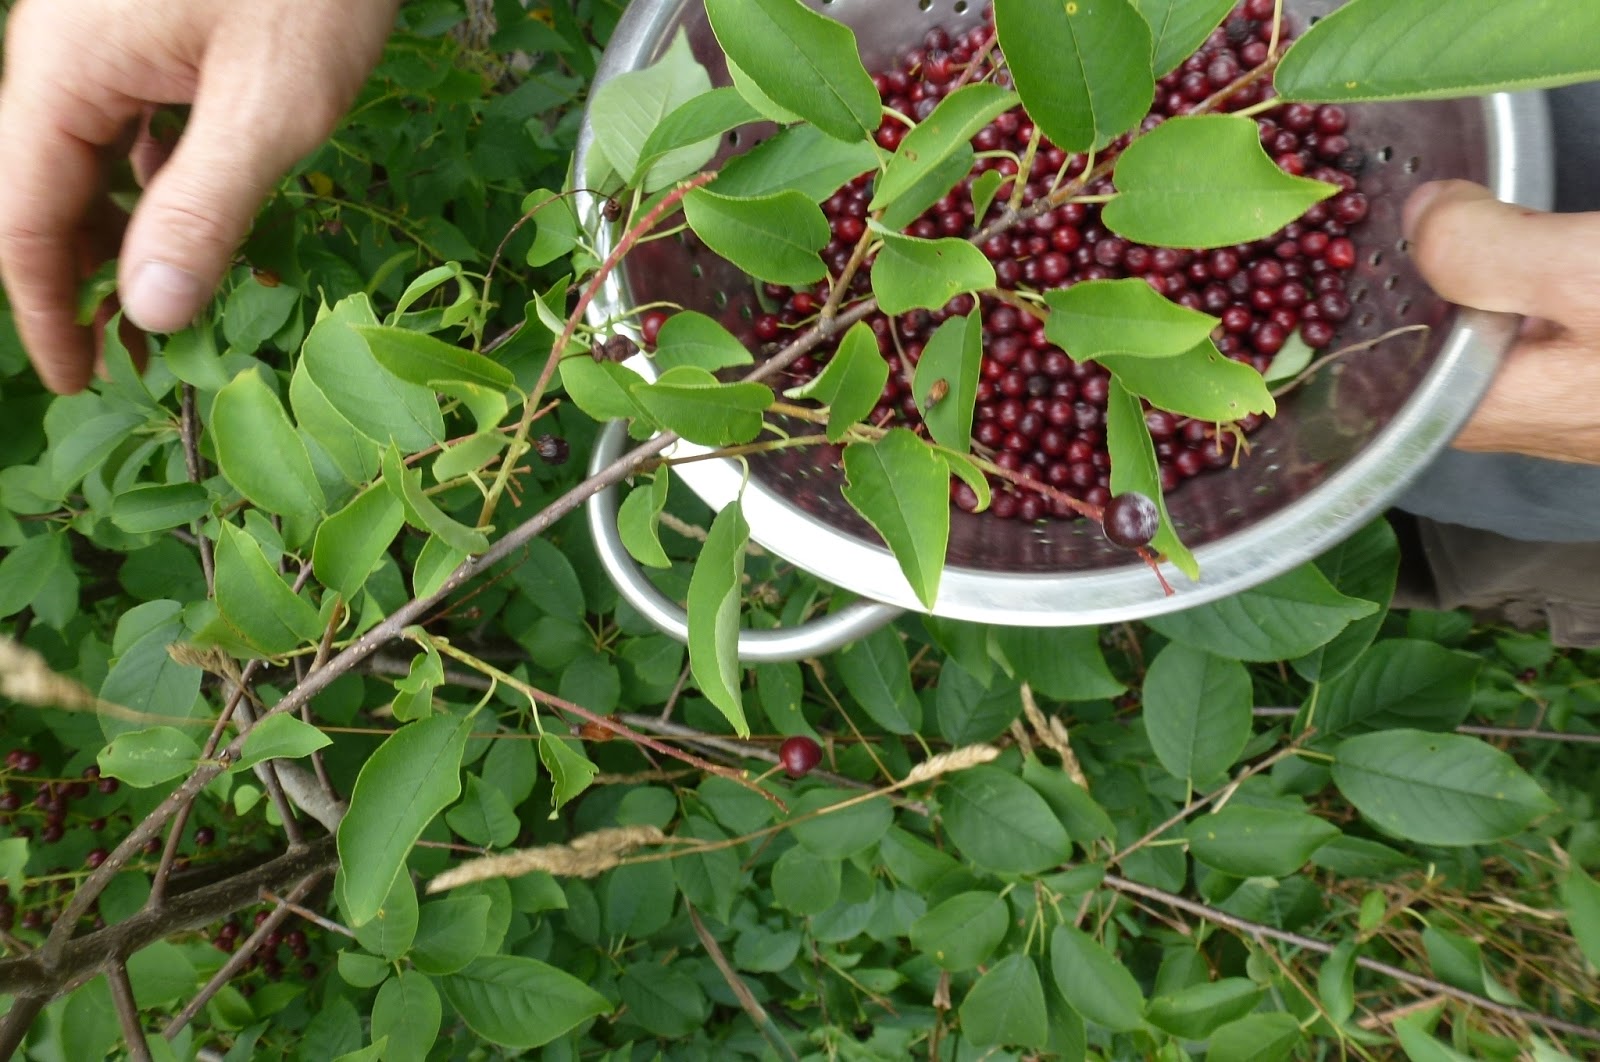
We've been noticing an exceptional berry harvest this year (other than strawberries) - the wild berries like mulberries, service berries, raspberries, and also grapes, as in greater abundance than we've seen in many years.  This was the same for the chokecherry tree in our own yard (well two, one is a volunteer that has self-seeded and is also bearing loads of fruit!).  While eating raw chokecherries should be avoided, they  do make lovely jam, wine, syrup and juice.  We are also going to try making chokecherry fruit leather this year, following this recipe idea here.  Chokecherries (Prunus virginiana) are considered some of our greatest "local super foods", along with elderberry (Sambucus nigra) as they are high in anti-oxidants and rich in vitamin C.   When using both chokecherries or elderberries the seeds need to be removed, and both of these berries need to be cooked or processed, not eaten raw.  They take a bit of work to pick, pit, and process, but oh they are worth the effort.


Sunday, April 28, 2013

Wild spring edibles

What abundance we have growing wild around us!  We hosted our annual Wild Spring Edibles workshop today, and even though it's just the beginning of the season with wild greens only starting to peek up, our facilitator managed to find a wide assortment of delicious nutritious wild greens, roots and flowers already available.  She covered all aspects of wild edibles - including: ethical harvesting, traditional approaches, plant spirit medicine, phtyo-nutrients and medicinal values of wild foods, drying and storing, how to prepare wild foods for eating, juicing, safe quantities to consume, and of course (probably most important) proper identification.  We sampled an array of prepared foods such as burdock root tea, pine needle tea, garlic mustard pesto, purslane pesto, garlic mustard root "horseradish", fresh dandelion greens, rosehip jam, and fresh violet blossoms.  Then we had a walk around the Little City Farm property to identify these plants, plus a few others such as nettles, wood sorrel, mallow, evening primrose, wild ginger, wild grape, and ramps (wild garlic).  We are re-inspired to enjoy the bounty around us, to help build attentiveness and appreciation for these plants and bring greater health for our bodies.

Here are some photos of the spring wild edibles here at Little City Farm, with their names below.

Evening Primrose root and leaf

Large burdock root (centre)

Top evening primrose root, middle burdock root, bottom dock root

Stinging nettle greens

Garlic mustard greens

Ramps (wild garlic)

Wild ginger (just opening the leaves)

Violet blossoms and leaves

Young burdock leaves (harvest for the root)

Dandelion greens

Clover leaves

Evening primrose leaves

Wood sorrel leaves

Wild rose buds (harvest the rosehips)

Wild carrot greens (harvest for greens and young roots


Thursday, April 11, 2013

Fresh syrup!

Well...after collecting sap from our 8 trees (we're just a small homestead in the city!) for 2 weeks and boiling the sap down, we came out with just over 2 litres of delicious syrup!  What a fun learning experience, small-scale that is was, with so much anticipation and incredible results.  Remember, these were syrups made from Black Walnut and Manitoba Maple, not Sugar Maple.  There was lots of tasting at all stages: sap from the tree to thickening syrup, and in the end both our syrups are delicious, yet very distinct flavours that are different from other maple syrup.  More wild and nutty tasting, and oh, so satisfying!  Just another one of those projects we've wanted to try, as we continue to learn to make our handmade life here at our little city farm.  I'd do it again next year, or even look around the neighbourhood to see if other homeowners would like to either share their trees or do their own tapping and share the boiling (in that case we could build a larger evaporator and boil on a fire pit).

Eating our pancakes this morning was the perfect blend of seasons - made with the last blueberries of the past year's harvest, yogurt topped with our last jar of home canned peaches, side by side with this fresh new syrup was the ending of the old year and starting of a new year of production, garden and harvest.  Happy spring!


Sunday, March 03, 2013

Tapping!

We've started!  We are tapping trees in our yard this year - another one of those projects we've been meaning to try, and this year we are prepared just in time for the tapping season to start.  There is a short window of time, usually in March-April, when the nights are around -10C but days are around +10C, when the sap runs well.  We don't have sugar maples, but we do have other trees that are possible to tap.  Although less well-known, the birch, black walnut and Manitoba maple trees can also be tapped for a tasty light syrup.  We have 8 of these trees (which are mature enough) to tap in our yard (so that makes about 24 taps), and we're going for it.  We like to do things on a small budget, so though we did buy spiles (at $2.50 each), but since sap buckets cost $7 each we have rigged up our own buckets and lids using food grade plastic pails.  Once we've tapped for a week or so, we'll boil it all down over a long all-day outdoor fire - until the consistency seems like syrup. 

Here's a simple and quick summary for any of you urban homesteaders who want to try this yourself.  Of course, there are lots of great resources at the library and online that will give much more detail about the process (and we are still learning!), but we have heard and read stories of good success with these types of trees.  We are hopeful that all our efforts will be worthwhile.  More updates to come.

1. Once the daytime temps are around 10+ C but nights are still below 0 (around -10C)  you are ready to start.  Choose healthy mature trees, best if they have a good south facing exposure to the sun during the day.
2. Drill holes at a slight upward angle, using a 7/16 inch drill bit.  Make sure to get the woodchips out of the hole before tapping in your spile.  You can drill 2-3 hole per tree. 
3. Tap in spile using a hammer.  Hang your bucket or pail securely below, using a hook or nail, so that spout drips directly into container.  Add a tight lid to help keep out debris and squirrels!
4. Check your buckets every day, or even twice a day depending on how much the sap is flowing.  Empty into larger foodgrade pails or jugs and store in the cold until you are ready to boil.
5. To boil sap, build an outdoor fire or use a camping stove.  This will take at least 8 hours, which can be done in one day or over several (as long as sap is kept cold inbetween boilings). 
6. Using a stainless steel pan or pot bring sap to a temperature that is 7.5 degrees over the point of water boiling.  Keep it at this temperature, stirring and skimming off foam.
7. Once sap has boiled down significantly (the ratio is about 8 litres down to 1-2 cups) strain it through a filter (cheesecloth or other filter) and hot pack it into glass jars.