Pages

Showing posts with label herbal medicinals. Show all posts

Friday, August 04, 2017

Whole Plant Echinacea Tincture


For the past few weeks I have been in awe of the bees in our garden.  The flowers are at their peak, and bees are simply everywhere, bees of every description.  We have seen mason bees, sweat bees, bumble bees, small wild bees, honeybees, squash bees, and many more varieties that I am not yet familiar with.  It feels good to be able to provide this host site for so many foragers, and see them buzzing around with gorgeous pollen on their legs!  Did you know that some bees, such as bumble bees and honeybees, have pollen "baskets", or corbicula, on their hind legs to carry the pollen back to the hive?  You can spot it when the baskets are full, sometimes with yellow, blue, purple or pink pollen, depending what flowers they have been visiting.  Amazing!

When making my whole plant echinacea tincture, it was a beautiful start to see the bees covering the echinacea patch when I went to harvest my flowers and leaves.  I knew this was going to be a potent tincture, ready in time for our family to use this winter.  Just look at the rich yellow pollen in that first photo of the echinacea flower.

How & why to make a whole plant tincture?
Tinctures are plant extracts, commonly made of leaves, flowers, roots or berries, steeping in food grade alcohol such as vodka or brandy.  Raw apple cider vinegar can also be used, but does not provide as long a shelf life for the tincture as the alcohol.  An alcohol tincture, if properly prepared and stored, can keep for many years.

Traditionally tinctures are made by steeping the fresh or dried plant material in a clean glass mason jar, covered by at least 1-2 inches of liquid (aka. the "menstruum") so that the plant material stays submerged at all times during the steeping period.  Steeping, or infusing, takes a minimum of 2 weeks, and better yet upto 6-8 weeks.  Then the plant material is strained, and the liquid reserved - that is now your finished tincture.  Bottle (ideally in a dark glass bottle), label, and store in a cool dark location until time of use.  Tinctures are taken by the droperful, in a glass of water.  They are ideal for preserving herbs such as echinacea, which can be used for boosting the immune system and warding off winter colds and flu.

Whole plant tinctures are ones made with not only one part of the plant (e.g. the leaves, or the flowers, or the roots), but the entire plant.  They create the most potent tinctures available, as they make use of all aspects of the plant's medicinal qualities.  The various parts are harvested for the tincture throughout the growing season, when they are at their peak, and then discarded after the infusing period is finished.  For example, the leaves are harvested just before flowers are budding on the plant.  Then the leaves are strained out of the tincture, and the flowers are added just as they have opened.  Then the flowers are strained out of the tincture after they have infused for the necessary period, and next the echinacea roots added.  Roots are usually harvested in the fall, after the flowers of the plant have died back.  So for making this whole plant tincture, echinacea is the perfect plant to experiment with and makes a potent tincture every time.  It takes some attention to make a whole plant tincture, as you need to follow the process throughout the growing season, but the effort is well worth the finished result.

Whole Plant Echinacea Tincture*
Yields: aprox. 6-8 ounces of finished tincture

You will need:
1 clean glass mason jar (250 ml) and lid
fresh echinacea leaves (handful, chopped)
fresh echinacea flowers (3-4 flower heads, whole)
fresh echinacea roots (handful, chopped)
vodka or brandy (food grade)

Method:
1) Fill jar with fresh echinacea leaves that are harvested from the plants before the flowers have formed.
2) Add vodka to within 1-2 inches above the plant material.  Make sure plant material is covered completely by alcohol through the whole steeping time.  This is important, otherwise you risk mold growing and ruining your tincture.
3) Label the jar with ingredients, location of harvest, date.
3) Let steep in a cool dark location for at least 2 weeks, preferable 4-6 weeks.
4) Then strain out the leaves, reserve the liquid.
5) Add echinacea flowers, just as the flowers are fully opening.  Again, cover with at least 1-2 inches of vodka.  Steep as before.
6) Strain out the flowers, and reserve the liquid.
7) Finally, add chopped up fresh echinacea roots, that are harvested after the flowers have died back from the plants in the fall.  Use roots from plants that are at least 3 years old.
8) Steep again, covered by at least 1-2 inches of vodka, for at least 2 weeks.
9) Then strain out the roots, and reserve the liquid.
10) Bottle into dark glass bottles with tight fitting lids.  Label and date.  Store in a cool, dark location until time of use.  This tincture should keep for at least 1-2 years if prepared and stored properly.

* a little tip, to make the most potent tincture, always harvest from several of the most healthy looking plants in your garden, rather than from one plant only, and infuse with love and good intention


Thursday, May 18, 2017

Practical Home Herbalist classes

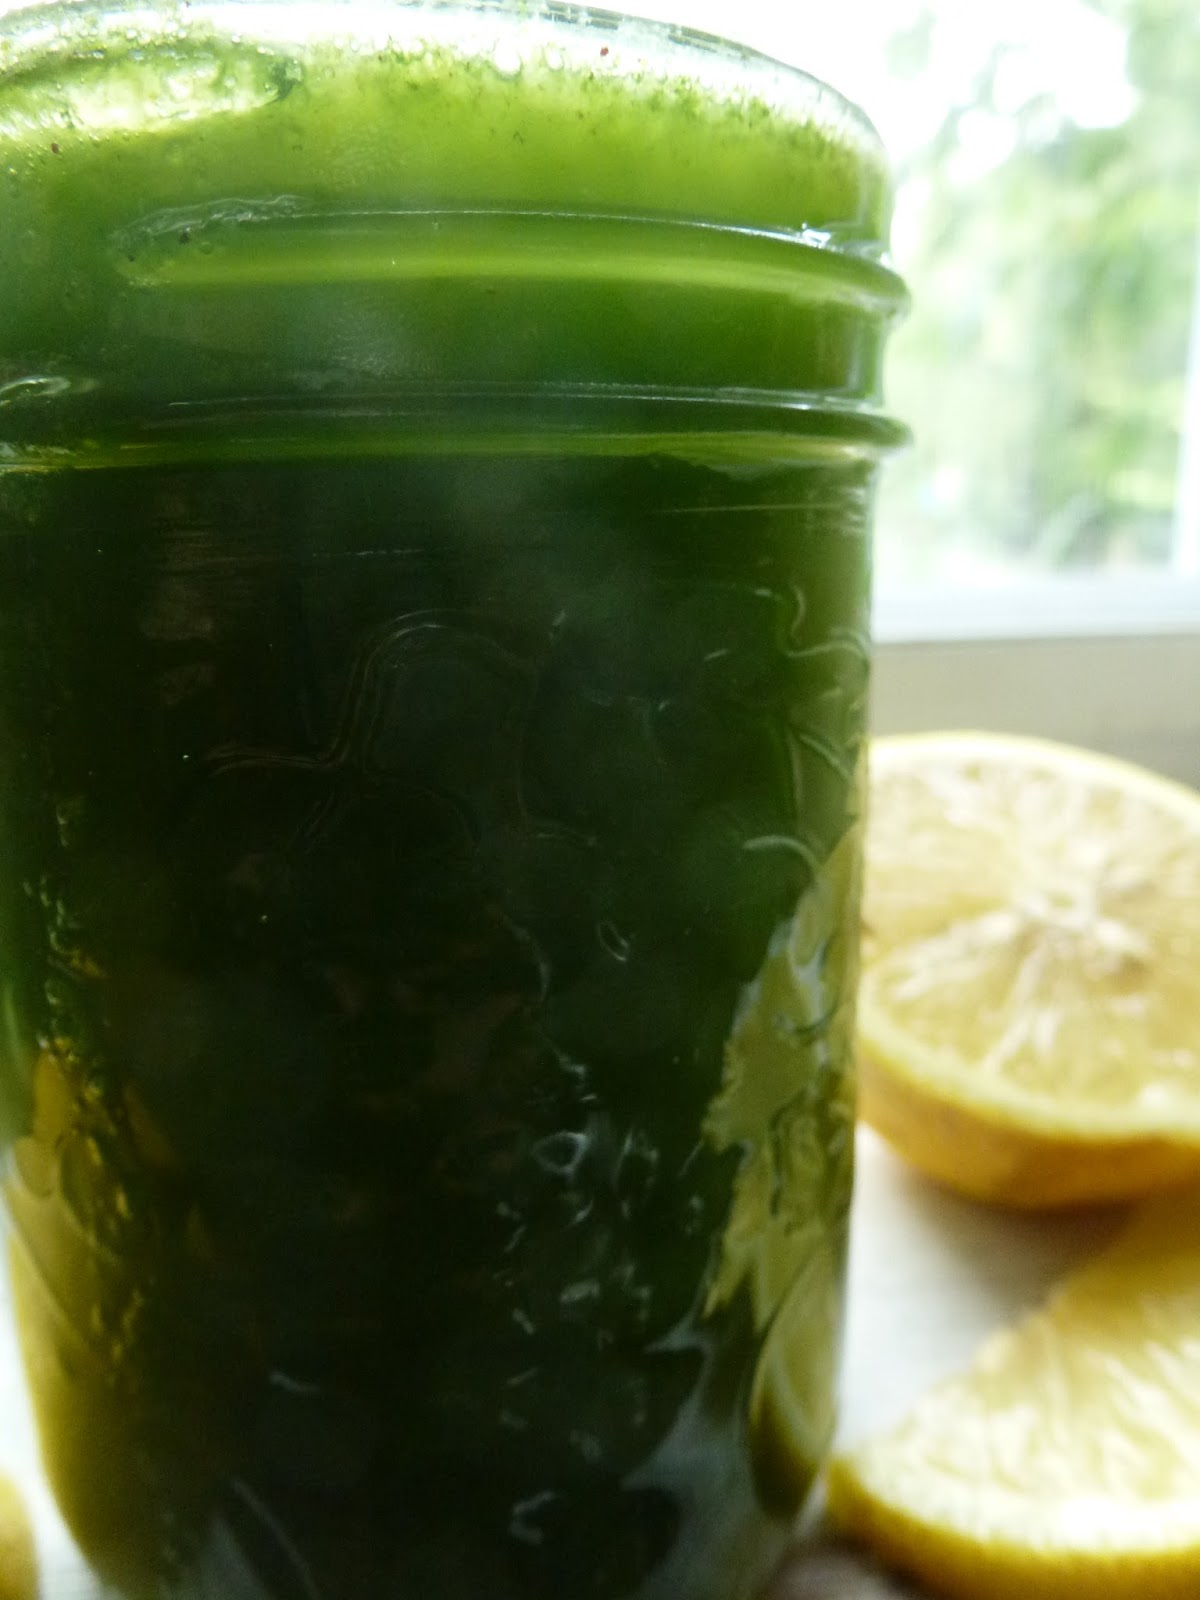
We are currently running our Practical Home Herbalist series again.  This is a four-part series of herbal classes for those who want to delve deeper into their relationship with healing herbs and remedy-making for home use.  We have a wonderful group of ten women taking part this time around, and also a local photographer who is going to document our classes for us.  Classes offer hands-on remedy making with samples to take home, harvesting and tasting herbs, plants to take home for creating their own herbal garden, learning about four focus plants each week, learning through artwork (each participant creates a traditional "herbarium" or herbal botanical journal as part of this series).  The hope is to provide participants with practical skills and knowledge for making simple safe remedies for their own friends and families, as well as building deeper understandings of the beautiful healing plants that are our allies.  This series is so much fun to create, host and offer to our community!  I look forward to sharing more - for now here are a few photos from our first session in which we featured: plantain, dandelion, nettle and lemon balm.  With these herbs we enjoyed making herbal shampoo (nettle, lemon-balm), herbal pesto (dandelion-plantain), herbal vinegar (nettle), and drinking deep dark green herbal nettle infusions.  Read more about the Practical Home Herbalist series here. 


Monday, April 17, 2017

Wild Violet Syrup Making - a spring ritual

Making violet syrup with wild flowers is our favourite spring ritual.  We've been doing this for a few years now, usually in mid to end of April when the violets are in full bloom and ready to be picked.  They are abundant, so there is no great worry about overharvesting, though care should still be taken when wildharvesting so that we leave enough to be enjoyed in another year. 

Here is our recipe for Wild Violet Syrup!  When it's made with sugar the syrup turns a bright light pink colour - but honey does not give it this colour (though the honey version is much healthier and also just as delicious).   We serve our syrup with sparkling water as a refreshing floral spring tonic.

How to make Violet Syrup
You will need:
4 cups fresh violet flowers (not washed)
4 cups water that has just boiled
2-4 cups sugar (or honey)
8 Tbsp lemon juice

1) Place fresh violet flowers into a glass jar or measuring cup.  Cover with water that has just boiled, and place a lid or plate on top.  Steep this infusion for 24 hours (covered).

2) After 24 hours, strain the infusion.  Compost flowers, reserve the infused water.

3) Put infusion into a stainless steel pot, add sugar and lemon and bring to a boil.  Then turn down heat and simmer until sugar (or honey) is dissolved and syrup starts to thicken.  Stir constantly until syrup coats the back of the wooden spoon.  This can take from 15-30 min depending on how thick you want your syrup to be.

4) Bottle in glass jars, cap and store in the fridge.  Keeps 3 months in fridge.

5) To use:  add about 1/4 cup syrup to a glass, top with sparkling water and add fruit or ice cubes.  This is a delicious sweet and refreshing tonic to lighten your heart and put a spring in your step.


Saturday, August 06, 2016

Local Superfood Spotlight: Purslane

We love wild foods here, currently harvesting the last dandelion greens, lambs quarters, plantain, and loads of wild grape leaves.  Purslane (Portulaca oleracea) is another wild food that is abundant, but many people are not so familiar with.  It grows wild on the edges of our garden and once it arrives it is plentiful (though not entirely invasive as it's easy enough to pull up by the shallow roots).  But it is delicious (like a rich spinach or chard) and needs to be used - plus, the health benefits of this local superfood are abundant:  it is rich in fibre, vitamins and minerals, and contains a huge amount of omega-3 (some say more than any other leafy plant!).  It is good for our skin, urinary and digestive systems. It also has a perfect combination between antioxidants, omega 3 fatty acids, potassium, calcium, magnesium and carotene.  

A friend shared her purslane lemonade suggestion with us.  Since we love making herbal lemonades, and herbal-rich smoothies, this made a great addition to our summer drink selections.  Here is our variation on the purslane elixir.  If you can't find wild purslane it can also be grown indoors or in a greenhouse/garden bed as a microgreen. 

Purslane Elixir

You will need:
1-2 lemons
honey or maple syrup to taste
large handful fresh purslane
2 cups water
2-4 ice cubes

1) Put 2 cups water into blended.  Add juice of lemons and handful purslane, and ice.  Blend on high until smooth (about 1 minute).
2) Strain drink for lemonade consistency, or don't strain and drink as a rich green smoothie.  
3) Sweeten to taste.


Herbal oils (solar infusion) Summer Medicine Making

These gorgeous medicinal herbal oils have been infusing for just over a month.  Instead of infusing them in our sunny kitchen window as usual, I decided to set them into the sunny greenhouse and see what the difference would be.  Such incredibly vibrant colours!  Luscious vibrant oils, making potent medicine here.  Pictured are calendula (orange oil), mullein flowers (yellow oil), and st johns wort (the red oil).

Solar Herbal Oil - Medicine Making Method
You will need:
  • clean glass mason jar with lid and ring
  • herbal flowers (organic dried, or freshly picked but slightly wilted) to fill jar by half
  • olive oil to cover flowers by 1-2 inches

1) Place flowers in clean mason jar.  Fill jar about half way full.  If using fresh flowers, let wilt slightly first.
2) Cover flowers with olive oil by about 1-2 inches.  Let oil settle, then top up as needed.  Flowers need to be covered to avoid mold growth during steeping time.
3) Shake jar gently to disperse oil throughout flowers, and dislodge any air pockets.
4) Set on a tray (to catch oil drips) and into sunny window.
5) Let infuse for at least 4 weeks.  Shake jar every few days so herbs don't settle on the bottom.
6) When infused, oil should be a rich vibrant colour.  Strain oil, compost herbs.
7) Store finished oil in dark glass bottles in a closed cupboard (cool, dry dark location).
8) Use in making herbal massage oils or medicinal salves.


Saturday, June 25, 2016

Practical Herbalist series - session 1

The first of this season's 4-part Practical Herbalist workshop series brought 14 eager participants to us today.  Over the course of 4 months (June-Sept) we are meeting one Saturday morning per month as a group. 

The goals are to provide hands-on practical experience in herbal medicine making, including harvesting and using leaves, berries, flowers, roots, bark, seeds (each as they come into their prime in the Little City Farm garden); wild-harvesting plants with the emphasis on local nutrient-dense "superfood" wild plants to be used as both food and medicine; and also helping each participant to develop a deeper relationship to medicinal plants while learning in the simpler tradition (i.e. building a relationship with plants that is hands-on, locally focused, creating simple remedies made by hand together). 

There is "homework" to be done each month between get-togethers, so that participants have the chance to practice what was talked about during the session; and also herb journals/or herbariums to work on - we will be covering 22 locally available plants so the hope is that each participant will have a good working knowledge of how to best prepare these plants for use, and how to use safely and effectively in their home for first aid and general minor ailments. 

It's a lot to pack into four short sessions, but with the month time between each workshop the participants can work as extensively as they are interested or able, to further their knowledge as we go along.  My role is facilitator and guide, helping as they develop their own personal path for herbalism.  I feel very fortunate to have the opportunity to work with such a wonderful and interesting group of participants in this way over the summer.

Today we worked with peppermint, lemon balm, nettle, red raspberry leaf, and plantain (Plantago major)- harvesting and processing these plants to make a plantain solar-infused oil; and a solar-infused sun tea (equal parts nettle, red rasp leaf, peppermint and lemon balm).  We also made a delicious nutrient-dense green smoothie with plantain, mint and lemon balm.  I especially love using locally wild-harvested herbs as food, (i.e. free "food as medicine").  Plantain is high in B vitamins, protein, Vit C and Vit K, and fatty acids.

Plantain Nutrient-Dense Green Smoothie
(adapted from a recipe by Rosemary Gladstar)

You will need:
2 cups pineapple or pear juice, organic and/or fresh
1 large handfuls of fresh plantain leaves *
small handful fresh peppermint leaves (a few sprigs)
small handful fresh lemon balm leaves (a few sprigs)
1 banana
3-4 icecubes
water to adjust consistency

* fresh plantain can be interchanged with other fresh nutrient-rich herbs like red clover, or red raspberry leaf

Method:
1) Blend everything in a blender until smooth.  Stir to mix in the foam which will form on top (delicious!).
2) Drink iced, immediately.
3) Very refreshing on a hot day!
4) Serves 6-8 people.


Sunday, April 17, 2016

Wild greens! Spring nettle quiche

Wild spring nettles are up!  Our patch in the woodland part of the yard is blooming well, and we were able to make some of our favourite nettle foods this weekend - nettle tea, nettle greens smoothie, and nettle quiche.  Nettle pairs well with so many foods, tasting a bit like a bitter dandelion or spinach.  Delicious with eggs and cheese (try our nettle-kopita recipe), but wonderful with honey in a strongly brewed herbal infusion.  It also makes a great addition to a herbal shampoo as it softens and conditions hair.

Nettle (Urtica dioica) also known as stinging nettle, is rich in iron and minerals.  Traditionally it has been used as a skin purifier, to aid rheumatism, help with allergies (hay fever), stimulate the digestive organs, to help promote milk production in nursing mothers, and so much more.

Keep in mind when harvesting that nettle stalks and stems are covered with tiny hairs that are very prickly and will sting the bare skin, thus the name "stinging" nettle.  For some foragers this is not an issue (you can gt used to the stinging over time) but as a new forager be mindful to harvest wearing gloves, long pants and closed shoes (not a great idea of walk with shorts or sandals into a tall nettle patch unless you don't mind the stinging), or very very carefully and slowly.  Once nettles are steamed, infused, or cooked the sting is completely gone.

Here is our recipe for nettle quiche:

Nettle Quiche
4 eggs
1 1/2 cups milk (dairy or non-dairy)
salt and pepper to taste
cheese of choice (e.g. feta, cheddar), about 1-2 cups
large handful washed fresh nettles, chopped
green onions and/or garlic greens
1 Tbsp butter, melted
one single-crust unbaked pie dough, arranged in pie pan

Whisk eggs and milk.
Add salt and pepper.
Put cheese, greens and other veggies into bottom of pie crust.
Pour egg-milk mixture on top of greens.
Pour butter onto the egg-mixture.
Bake at 400F for about 30 min.
Makes one large quiche.


Saturday, October 03, 2015

Glorious Goldenrod - Making Goldenrod Tinctures/ Shrubs / Medicinal Sipping Vinegars

Last year I was given a bottle of goldenrod apple cider vinegar from a friend.  It was delicious, healthful and simply prepared.  I used it in salad dressings and as a medicinal tonic diluted in water.  This fall I decided to make my own.

Goldenrod is a detoxifying herb, good for the respiratory system (for coughs and colds), anti-inflammatory, and has many more health benefits.  Contrary to popular belief, most people are actually not allergic to goldenrod but rather to ragweed (which blooms at the same time in similar areas).  Goldenrod has in fact been proven to help alleviate symptoms of such allergies.  It also happens to be prime forage for bees in the fall, so we let plenty of goldenrod flourish around the edges of our yard.

To harvest, I like to pick the goldenrod when the flowers are brilliantly yellow and just opened (or barely opened).  Once the flowers go to see it is too late for harvesting the blooms.  There is usually a small window of a a few days or so when the flowers are perfect.

Making Goldenrod Tincture with Apple Cider Vinegar
1) Fill a clean glass mason jar nearly full with freshly picked brilliantly yellow goldenrod flowers.
2) Then cover completely with apple cider vinegar to about 1 inch above the plant matter.
3) Cap tightly, set on a plate (in case of leakage).  Shake well to distribute plant matter.
4) Let sit at least 6 weeks, or longer, in direct sunlight (kitchen window).  Shake daily.
5) When ready, strain goldenrod out, reserve the liquid.
6) Store in dark glass bottles tightly capped.
7) Use in salad dressings, or other places you would use cider vinegar.  Or take daily as a tonic.

Herbal shrubs (or sipping vinegars are they are sometimes called) are another way to preserve medicinal herbs.  They are really made like a tincture, using apple cider vinegar (or other organic vinegars) but have sugar or honey added.  They are a spicy, hardy, delicious way to preserve the plant's properties - and can be added to spritzers, taken straight up, or mixed into herbal cocktails.  They have been made for more than a century, and are seeing a resurgence in popularity.  What a great way to have your "food and medicine" together.

How to make a herbal shrub?

Goldenrod Shrub (or other herbal shrubs)
1) Follow directions above for making Goldenrod Tincture.
2) After 6-8 weeks, strain out the goldenrod.  Compost the herbs, reserve the vinegar.
3) Now for every 1/2 cup vinegar, add 1 Tbsp raw organic local honey (or organic cane sugar).
4) Shake to combine well.  Store in dark glass bottle.
5) Store in fridge.  Serve with sparkling water, into wine/cocktail, or sip directly (1 Tbsp at a time).

Other amazing herbal shrubs can be made the same way - try fennel, rose petals, ginger root, cayenne & garlic (for winter flu fighting), holy basil, mint, and add infusions of fresh fruit such as strawberries, cherries and blueberries for colour and flavour.