Pages

Showing posts with label workshops. Show all posts

Thursday, June 28, 2018

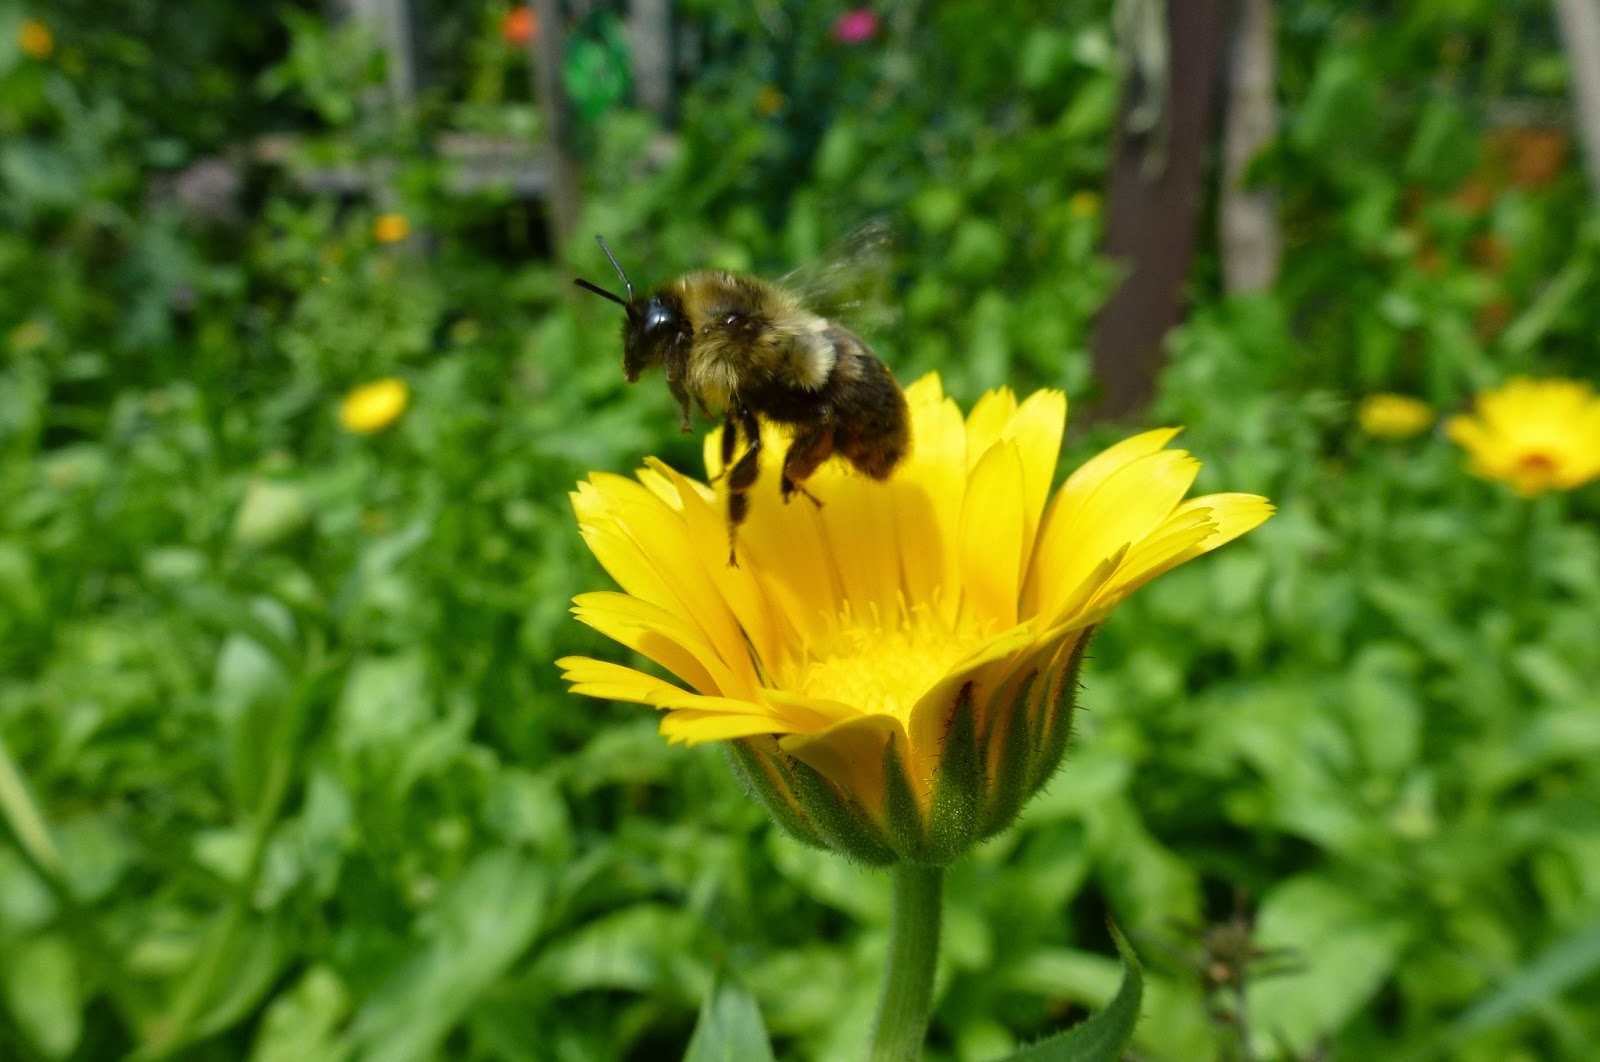
Calendula Workshop! Learn to make 12 healing projects with this wonderful healing plant


Upcoming Workshop:
Calendula! 12 healing projects, and learn to grow, harvest, dry & use this healing plant
Date: Sat, July 21 (pre-registration required)  REGISTER HERE
Time: 1-3 pm
Facilitator: Karin Kliewer, traditional herbalist
Location: Little City Farm

Join this hands-on herbal class focusing on the well-known and loved healing plant ally Calendula. This anti-inflammatory, anti-viral, skin soothing plant has been used for hundreds of years around the world as a healing herb. It is so revered that it has been considered a sacred flower in several cultures, including India, Mexico, and by the ancient Mayan and Aztec. We will cover all you need to know for growing, harvesting, drying and using this gorgeous flower.

We will share our 12+ favourite uses for the treasured calendula: from daily skin and lip care; to first aid remedies for cuts & scrapes; healing salve for rashes; homemade calendula hydrosol (aka. flower water); soothing bath blend; uplifting tea blend; stomach soothing food plant; traditional dye plant; & more.

During the class you will learn how to prepare calendula oil, salve, tincture, tea, and bath blend, and when/how to use them. We will also talk about how to make homemade high quality hydrosols (healing flower waters). Each participant will make and take home:
  • a calendula tea blend
  • a calendula healing salve / lipbalm
  • plant a small container garden with calendula seeds to take home and grow
  • small sample of calendula hydrosol (if we complete this during our class)
Calendula grows quickly and you don't need a large garden for calendula, it can be grown in any sunny location such as a patio, balcony, driveway, small yard, community garden plot, etc.

Please inform us of any allergies at time of registration. We will be using olive oil, cocoa butter, local beeswax, and certain essential oils in our class.

More info & registration here.

Healing Herbal Summer Drinks Workshop! Making Herbal Sun Teas, Syrups, Shrubs, Lacto-Fermented Sodas

Upcoming Workshop:
Healing Herbal Summer Drinks! Making Herbal Sun Teas, Herbal Syrups, Herb-Fruit Shrubs & Lacto-Fermented Sodas

Date: Sat, July 7 (pre-registration required)  REGISTER HERE
Time: 1-3 pm
Facilitator: Karin Kliewer, traditional herbalist
Location: at Little City Farm

Herbal summer drinks are a delicious way to beat the heat AND get nourishing, creative flavours (without refined sugar) made right from your garden.

All of these herbal drinks, which were once common and popular, are again seeing a revival. And for good reason! These drinks are flavourful, healthful, and endlessly creative in the combinations you can come up with, Many of these drinks (syrups, shrubs and sodas) also have a fairly lengthy shelf-life, allowing your to make larger batches that can last all summer long for your drink mixing.

In this hands-on class we will introduce you to 4 types of wonderful herbal-based drinks you can easily make at home:
  • herbal sun tea,
  • herbal syrups,
  • herbal shrubs (raw apple cider vinegar infused fruit-herb combinations),
  • lacto-fermented sodas (and lacto-fermented ginger-ale)

You will get the chance to taste a wide variety of the amazing flavour combinations, and participate in making your own ginger bug and personalized herbal shrub to take home.

More info & registration here.

Thursday, April 20, 2017

Cob oven workshop

We had a great workshop on building cob ovens here on Saturday.  We are very inspired by cob (and other natural building in general - read the 10 reasons why natural building can address climate change here), but we think that cob ovens are the perfect place to start when you want to learn to build with natural materials like clay, sand and straw.  Cob ovens take little time to go from start to finish, as an oven can be done in a few weekends time; building with cob requires only basic hand tools and no previous construction experience; cob ovens cost virtually nothing if you take time to source local and repurposed materials (cob ovens are often called "the $20 cob oven"); and cob ovens give you a wonderful finished project for baking beautiful breads and pizzas.  We love Kiko Denzer's book, Build your own Earth Oven, as a great primer for building your own cob oven.

Here are a few photos of our workshop - participants did not build an oven as this was just an overview workshop about the process, however they did get to mix and handle cob (clay-sand-straw), and eat freshly baked pizza!  Thanks to Natalie Nunn for the great photography from that day.


Sunday, December 18, 2016

Making felted soap & wool dryer balls

How we love wool in this house!  This weekend we held a favourite workshop here - all about wet felting wool.  Participants made wool felted soaps and wool dryer balls, and we talked about all the ways that wet felted wool can be used - to make clothing (hats, slippers, jackets), three-dimensional items by felting over a form, artwork pieces, and even larger pieces like tents and yurts.  Traditionally the yurts in Mongolia are made of felted wool.  The fleece is made wet, then rolled into huge long tight rolls and pulled by horse rolling along the ground behind in order to felt!  Amazing!  Other large pieces can be wet felted by walking on the wet wool, which felts up a large mat in no time at all!  Felted wool is very dense and water-proof, wind-tight, warm and durable, which is why it's so versatile for all these types of uses.

In our workshop participants learned the basics of wet felting while working on small projects, but this technique can be applied in many other ways.

Why make felted soap?
It is a great way to use of small ends and pieces of soap (for soap makers this is a perfect recycling project as we always have small pieces and odd-cut bars lying around); and felted soap is like a wash cloth and soap all in one; plus teh wool felting helps make soap bar more long lasting as you use it - these felted soap bars seem to go on for ever!

How to felt soap:
1) take small bar of soap, wrap in your choice of wool roving (best done in thin layers, to fully cover the soap bar)
2) wrap soap and roving in a piece of cotton jersey cloth (stretchy cloth) and secure with rubber bands
3) dip this soap "package" into hot water that has dish soap added, let it get fully wet and soapy
4) rub soap bar on a piece of bubble wrap or a sushi mat or anything else abrasive, and continue to scrub for about 5-15 minutes (dipping soap bar into hot water occasionally)
5) unwrap soap, check if wool is felting, add more wool or continue to felt it until you are happy
6) let soap dry for 24-48 hours, wool will continue to tighten and shrink around the bar as it dries


Why make felted wool dryer balls?
Wool dryer balls are so simple to make, and if used in the dryer can save energy by cutting down on drying time (they absorb water from your wet clothes) and eliminate static naturally.  For those who use a clothesline and don't need dryer balls, these balls can also be used as cat toys (add a little bell in the middle before felting), or as soft natural toys for babies and toddlers, or juggling balls for older kids, etc.  

Wool dryer balls are great recycling projects too.  Use scraps of old wool sweaters, scraps of 100% wool yarn, and odd bits of wool roving, and you are done!

How to make your own wool dryer balls / wool ball toys:
1) Layer one: Roll yarn or wool sweater bits (100% wool only) into a small ball.
2) Layer two: Secure with more wool yarn and keep wrapping in a ball shape. 
3) Layer three: Add colourful wool roving over top layer.  Make the rolled up wool ball slightly larger than you want your finished felted ball to be, as felting will shrink the ball.
4) Secure this ball in an old nylon stocking, tie up the nylon tightly around the ball, and then make your next wool ball until the entire nylon is full. 
5) Throw your nylon "string" of wool balls into your washing machine with a load of towels and wash on hot at least twice.  Balls will felt perfectly every time!  Let dry well between uses.


Tuesday, November 29, 2016

Waldorf-inspired art with kids: Lanterns & paper stars

We are nearly done our 10 weeks of Waldorf-inspired art classes for kids!  It's been a fun series, filled with beautiful hands-on projects that were tactile, nature-based, and fun.  We've seen the children become familiar with each other, at home in our learning space, and new friendships are developing - which is so wonderful since we will continue to have these kids and their families interacting within our larger homeschool community in the coming years.  We feel so honoured to have had the chance to lead these art sessions here, and look forward to a new series of classes starting again in the new year (mid-January).  Registration will be open here shortly.

This past week was a flurry of tissue paper and glue as we made simple mason jar lanterns with the kids.  They glued the tissue paper on the outside of mason jars and tied on fresh cedar twigs.  When lit with a candle the cedar makes a beautiful wintery silhouette.  This could also be done by gluing dried leaves on the jar for a fall pattern.  The older group (the Green Saplings) also had time to make folded paper stars out of rainbow coloured Japanese silk paper.  Simple, elegant, festive - lighting up these dark days of November and December as we wait for the sun to come back and days to lengthen.


Monday, October 24, 2016

Sprouting basics for fall & winter health!


Thanks to everyone who dropped by our Little City Farm booth at the Kitchener Public Library's 2nd annual DIY Festival.  We were there to share basic homesteading skills, and we decided to talk about how to grow sprouts at home.  Here are a few basic tips and suggestions for successful sprouting, perfect to get started now that the weather is turning colder and we are no longer eating fresh greens (other than kale and chard) from our local gardens!

The Basic Steps of Sprouting

  1. Rinsing – water is key – use lots, rinse 2-3 times per day, keep sprouts in cool location.
  2. Draining – it is essential that sprouts are well-drained after rinsing!
  3. Air Circulation – keep sprouts in well-vented area with good air circulation, not in a closed cabinet.
  4. Cleanliness – start with clean seed, sterilized containers, and wash well between uses.
  5. Storage – store completed sprouts in fridge – some sprouts can keep up to 6 weeks if stored properly.

Hints and suggestions for sprout success

  • Alfalfa and other small seeds can be grown up to 4 cm long. A 25 g bag of alfalfa seed can grow 45 cups of sprouts!
  • Lentils & peas are best small, with sprouts up to 1 cm long. They get tougher with more growth.
  • Miss a rinsing? Just continue normally if sprouts seem alive and show no signs of mold. They should be fine.
  • Mold – if you see a spot of mold, remove it with a good margin of healthy sprouts. Don’t mistake the fuzzy white root hairs of radish, canola, mustards, and other crucifers for mold.
  • Taste – be sure to taste sprouts as you go along; use them when you like them.
  • Greening – to green up sprouts (chlorophyll), leave them without a cover for a few hours in bright light (not direct sunlight).
  • Temperature – sprouts grow best between 18C-25C (65F-75F). Use lukewarm water for soaking and rinsing in a cooler temperature, and cold water in a warmer room temperature.
  • Drainage – drain the sprouts well before they go in the fridge. Rinse in the morning, cover, and refrigerate in the afternoon.
  • Mung beans – grow best in a drainable tray or basket. They like extra rinsing, and are best grown in complete darkness to prevent bitterness.

Benefits of Growing Sprouts at Home

the fastest, easiest, most affordable way
to grow your own food!

  • very affordable food source 
  • accessible food source (grow right in your kitchen)  
  • allows you to eat extremely local all year round 
  • sprouts are nutrient-dense food, high in vitamins and minerals
  • enjoy unique flavours & textures 
  • sprouted food is easier on the digestive system 
  • sprouts are living foods full of health and vitality for us
  • sprouting makes nutrients more available to our bodies 
  • easy to grow (takes only a few minutes per day) 
  • sprout growing takes up little space (a kitchen counter or top of fridge) 
  • organic and non-GMO food source
  • gardening satisfaction for you (even in winter)
What can you sprout?
Microgreens (e.g. arugula, brassicas, chard, radish)Micro-herbs (e.g. basil, dill, cilantro, chives)
Leafy greens & shoots (e.g. peas, sunflower, buckwheat, wheatgrass) True sprouts (e.g. alfalfa, red clover, radish, mustards, brassicas)
Legumes & pulses (e.g. peas, chickpeas, lentils, mung, adzuki) Grains (e.g. rye, wheat berries, spelt)
Nuts & seeds (e.g. sunflower, almond, sesame) and more!

Simple Mason Jar Sprout Method

  1. Soak seeds in cool filtered water.  Use aprox. 2 Tbsp seeds per 500 ml jar.
  1. Cover with mesh lid and let soaking seeds sit at room temperature for 4-12 hours (depending on 
    size of seeds).
  1. Drain & rinse in the jar until water runs clear.
  1. Prop jar on angle to drain completely.

  2. Repeat 2 times per day. Sprouts are ready to eat in about
    4-8 days, depending on size of seed. Store in fridge for about one week (drain completely before storing).

Information, seeds & sprouting equipment

Mumms Sprouting Seeds (Saskatchewan) – www.sprouting.com
Sproutman Publications – www.sproutman.com
Toronto Sprouts – www.torontosprouts.com

International Sprout Growers Association – www.isga-sprouts.org

The Sprout People – www.sproutpeople.com

Ann Wigmore Institute – www.annwigmore.org

Sprout Master (Ontario) – www.sproutmaster.com


Thursday, October 20, 2016

Autumn Lacto-Fermentation

Last weekend's Kraut & Kimchi class is a favourite that we offer several times a year.  At this time of season the group make an autumn root-veggie inspired lacto-fermented kraut to take home.  We had lots of samples to taste and show the breadth of flavour and texture that can be done with lacto-fermentation.  Then the hands-on work began, at which point many hands made short work of a huge pile of carrots, daikon, beets, cabbage, turnip and more!


Thursday, September 29, 2016

Waldorf-inspired art classes for kids: knitting

In today's art class for kids, our second in the series of ten, we introduced the concept of knitting.  We started our group out with a classic story about wool, Pelle's New Suit - where a boy goes step by step from sheep to shirt (shearing, carding, spinning, dying, weaving, and sewing the wool).  The kids got to feel natural wool roving noticing how soft it was and a bit sticky from the lanolin still left on the wool.  They saw how it looked when it was dyed, and tried carding with simple carding brushes (just like grandmother does in the story!).  The younger group just got a taste for working with wool by doing very simple finger knitting and creating a wool flower craft with their finger-knit chain.  The older group had the chance to work with knitting needles, learning how to properly roll their yarn skein into a ball (working in pairs to do this was a nice teamwork activity), casting on their stitches, and starting the first rows of a small project.  They will continue to work on this small project over the remainder of our weeks together as a way to continue to practice their knitting skills bit by bit.

Sometimes knitting can feel frustrating at first as you fumble with holding needles and making stitches (for any beginner, both young or old) so working in small doses, with large needles and soft beautiful bulky good quality wool, will hopefully make this more manageable for our learners.  Our theme in all our art classes is simply to each try our best and find the beauty in using different textures, colours and natural materials, not to strive for perfection!  Since these classes are just a short introduction to our different Waldorf-inspired art forms we also hope the parents will continue to explore these various art forms at home with their children.