Pages

Showing posts with label crafting. Show all posts

Tuesday, November 29, 2016

DIY Wool Balls

So simple!  Wool dryer balls made from scraps of upcycled wool sweaters, wool ends of yarn, and wool roving.  They can be used as dryer balls to cut down on drying time and save energy; or as cat toys (add a little catnip or a small bell inside before felting); or dog toys; or soft playtoys for toddlers to toss and catch.

How to make wool felted balls:
1) Make a small bundle of 100% woolen sweater scraps.  These can be off-cuts from any larger felting project you've used your sweaters for.  Any colour will be fine as you won't see this inner core once the ball is finished.

2) Wind 100% wool yarn around the woolen sweater scraps tightly.  Wind into a small ball, several inches in diametre (completely cover up the woolen sweater scraps with your yarn windings). 

3) Then wind layers of wool roving in colours you like (these will be visible) around the yarn ball.  The thinner the layers the better.

4) Stuff you wool ball into an old nylon stocking and tie up tightly to secure.

5) Repeat with as many balls as you like, to fill up the whole nylon.

6) Wash on hot, 2-3 full cycles in a load with towels.  Wool will be tightly felted once you are done!  Remove from the nylon, let balls dry.  Then use!

For dryer use, they can be sprinkled with a bit of pure lavender essential oil (or other scent) optional.  Use 2-12 per load (more balls decreases drying time). 

We LOVE these balls to toss around with our toddler, and for our cat to play with. They make lovely gifts, simple and recycled, and useful too.


Sunday, August 23, 2015

Building a food container out of birch bark

At another recent kids workshop hosted here, we learned the new (yet old) skill of turning a piece of birch bark into a water-tight container.  We worked to peel down the layers of birch bark until we had a thin sheet, then dipped it into boiling water so it became very flexible.  It can then be shaped into a round or curved vessel or container, and is water-proof enough to hold liquids.  Birch bark is naturally anti-bacterial and anti-fungal, so is perfect for storing food.  During the workshop we even learned how it's possible to "cook" in our birch bark containers, simply by adding hot rocks (heated in a fire) to a cool liquid in our container to warm it.  Our birch bark containers were held together by simple natural "pegs" made of dogwood. 


Thursday, March 19, 2015

More sewing club creations!

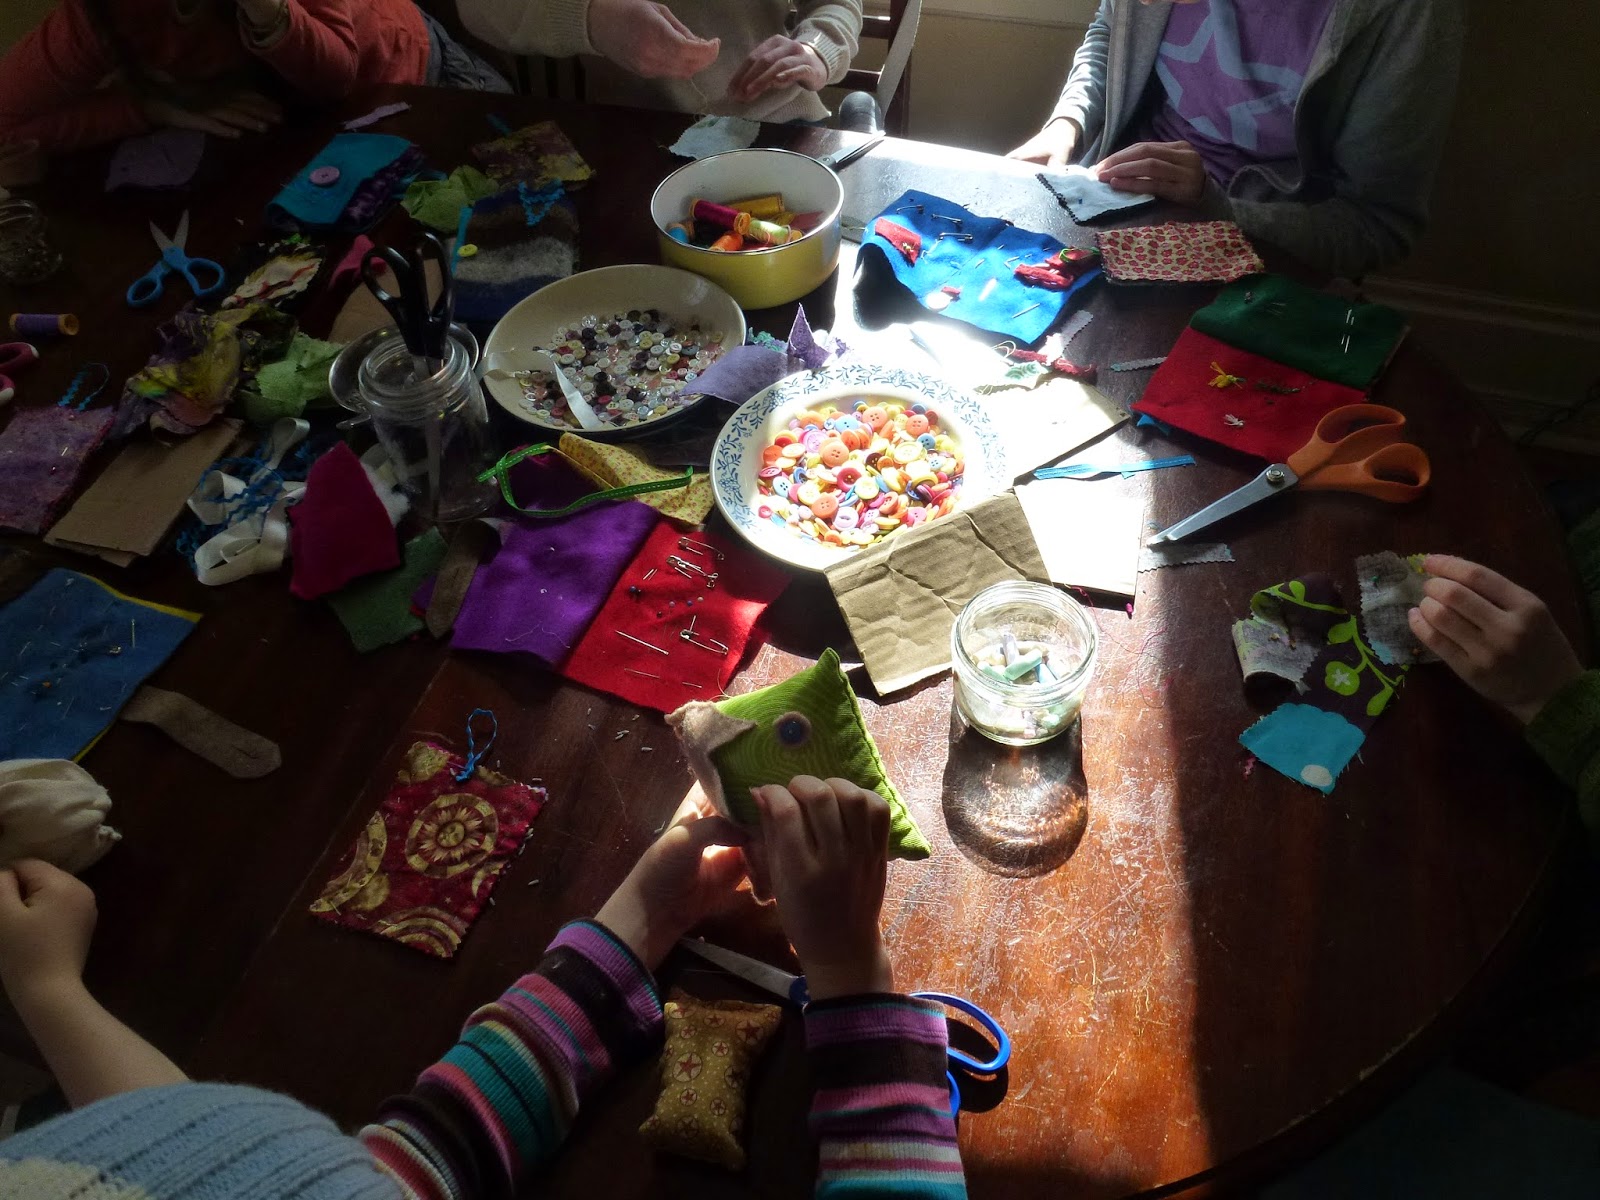
The kids sewing club continued all week here - and what amazing creations filled our table at the end of each morning.  There were coasters to give to parents, lavender pillows, tooth monsters, repaired stuffies, patched shirts, embroidered pants, superhero cuffs, and more!  And 11 super-inspired crafty sewing stars at the end of it.


Saturday, April 12, 2014

DIY Beeswax Wraps

We love these beeswax wraps!  They have so many great uses, and can replace any situation where you might have used plastic wrap before.  No more plastic wrap on food, no more plastic wrap to throw away.  For example, we wrap lunch sandwiches, halves of apples, blocks of cheese stored in the fridge, and to cover mixing bowls when proofing bread.  The beeswax wraps are slightly water proof and breathable.

Cleaning: These beeswax wraps can be used almost indefinitely, and if they do need cleaning just rinse gently with cool water and a biodegradable dishsoap or wipe with cool cloth, then let air dry (do not wash with hot water as this may melt the beeswax coating).

Note of caution: Making your own beeswax wraps at home is quite simple.  The key is to keep an eye on your oven temperature and not leave the cloths in the oven too long.  This is important since the hot wax in your oven could become a fire hazard. Work carefully, and in less than half an hour you will have your own set of beeswax wraps!  These beeswax wraps make great gifts as well. 

You will need:
  • A large piece of natural unbleached un-dyed fabric (e.g. cotton, linen, hemp)
  • Pure beeswax
  • Old baking trays
  • Parchment paper
  • Old grater or knife to cut beeswax 
  • Old paintbrush (reserved for beeswax from now on)
a) Cut piece of natural fabric to the size you want - it needs to fit on a baking tray.  Consider sizes that will be small or large enough to wrap the foods you have in mind (e.g. sandwiches, fruit, to cover a mixing bowl, etc)
b) Decide if you want to serge or sew the edges of the fabric to prevent fraying.  The beeswax will also prevent fraying so it just depends on how "finished" you want your wrap to look.
c) Line baking tray with parchment paper and lay cloth flat on this tray.
d) Preheat oven to 170F (NO hotter as this can become dangerous!).
e) Shred or grate beeswax.  You will need to have a thin layer across your entire cloth.  This amounts to several tablespoons of grated was for a medium sized cloth.
f) Sprinkle beeswax across the cloth evenly.  
g) Put baking tray into the oven at 170F for 10 minutes - NO LONGER than that!  Keep an eye on the melting wax.  If the was has melted sooner than 10 minutes remove baking tray earlier.
h) While wax is still hot spread it across the cloth with the old paintbrush.  Try to get a skim coat across the entire cloth.  
i) Let cool.  Beeswax will dry and harden slightly.  Then the beeswax wrap is ready to use!
j) You can add button and string loop closures, or other cloth or string fasteners onto the edges if you want to have a way to secure the cloths.  We just fold them around our food and secure with a rubber band.


Sunday, December 22, 2013

Solstice lanterns

We had a great time hosting a lantern making session with a group of neighbourhood kids here this week.  The kids had fun making water colour lanterns with tissue paper cut-outs, a perfect lantern that all ages can easily complete.  We also made lanterns with tissue paper pasted onto mason jars and paper-mache onto balloons (for lovely simple round lanterns).  In the neighbourhood friends of ours have been organizing an annual Solstice Lantern Walk (postponed this year for Dec 23), with everyone bringing along homemade lanterns of all shapes and sizes, as well as hot drinks and plenty of warm gear for walking through the streets on a cold night.  We come back for a little street party and bonfire, and for this our household also prepared a huge basket of cedar & sage bundles, which participants can toss in the solstice bonfire as we speak of hopes and joys for the coming year.  All are welcome to join the lantern walk coming up this Monday.


Saturday, December 07, 2013

Handmade Holiday sale

Today was our annual "A little bird told me" handmade holiday sale.  What a full house!  A beautiful, cozy, festive day, filled with so many great conversations with neighbours, friends, and new acquaintances.  We had 8 vendors with beautiful handmade goods, all with an eco and/or recycled focus to their work - including cutting boards (from reclaimed fallen trees), woolen clothing (from upcycled wool sweaters), slippers, wool dolls, felted ornaments (with local hand-dyed sheep's wool), organic breads pies & cookies (with locally grown flour), organic chocolates & truffles, jewelry and belts and bottle openers (from recycled bicycle parts), chickadee bird seed feeders, beeswax candles (from pure local beeswax), and more!  Our thanks to the vendors, and everyone who came out to support local and handmade artisans at our sale!

In case you want to find this year's vendors again:
Sew Oiseau (on etsy and website)
Once Upon a Tree (at KristKindel this weekend, and through his website)
Your Time Candles (at KristKindel this weekend, and through her website)
Green Garb (on facebook)
ReCycled Crafts (find him locally at Recycle Cycles)
Theresa - organic chocolates & bars (find her bars at Queen Street Commons)
Lisa - we can put you in touch directly if you want more of her lovely dolls
Homestead Herbals/Little City Farm (at our home location, our website, etsy)


Wednesday, March 20, 2013

Eco craft - egg candles

In celebration of the spring equinox tomorrow we thought we'd share a simple little eco craft idea with you!  We've had some fun making beeswax candles here lately.  We found a great idea in the book The Children's Year for making candles in the shape of eggs, by using eggshells that have been blown out.  They work perfectly - what a fun project for kids to make in celebration of spring, with help from an adult (when pouring the hot beeswax).  Here's how we did it:

You need:
- two large eggs and egg cups to hold them
- small artists paint brush
- olive oil
- newspaper
- old pot (reserved for candlemaking)
- old clean tin can
- pure beeswax
- candlewick
- small piece of plastecine

1) To blow out the eggs - poke a mid sized hole in top and small hole in bottom of the egg using a sharp knife.  Then blow through the smaller hole to push the egg insides out into a bowl.  Wash egg inside, and let dry out.  Then plug bottom hole with small piece of plastecine.

2) Oil the inside of the egg using paint brush.  Do this gently as the hollow eggshell is fragile!

3) Prepare workspace by covering with newspaper.  Then heat beeswax in tin can, set inside the old pot with about an inch of water.  Heat on low until beeswax melts.

4)  Pour small amount of melted wax into eggshell.  Then add wick, hold in place and pour melted wax to fill the eggshell.   Let harden by setting egg into an egg cup, and placing in the fridge.

5) When wax is completely hardened peel off the eggshell.  It should peel off easily.  If not, there was not enough oil inside.  Your candle is complete!  Happy spring!